You might want to begin at part one, where I go over the breakdown of the iBook, project goals, purchase lists, etc. Or simply browse my corporate site
Otherwise, we've got as working iBook 500mhz, with 640MB of RAM, a built-in Airport card for wireless connectivity, currently booting from a 5GB flash memory. Now we must remove the rest of the extraneous parts!
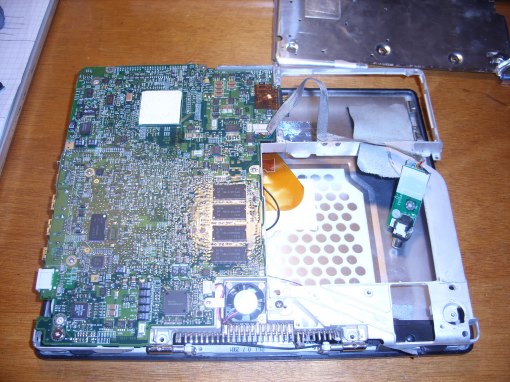
Removed the CD-ROM drive and the bottom plastic casing, and the tinfoil heatsink on the bottom as well. This exposes the graphics chip, seen in the upper left as a yellow square. This is the heat-transfer material that moves the heat to the tinfoil heatshield.
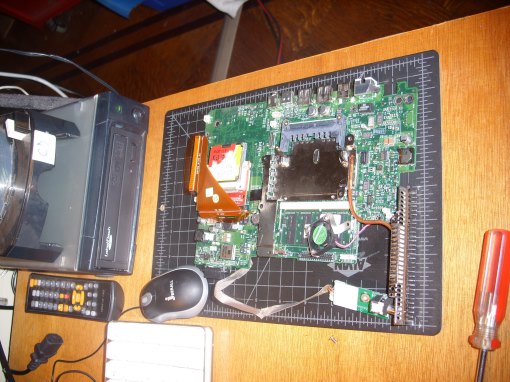
The stack of the parts, free of the metal framing parts, and any extraneous stuff. I kept the heatsink on the top, for the machine will crash quickly without something.
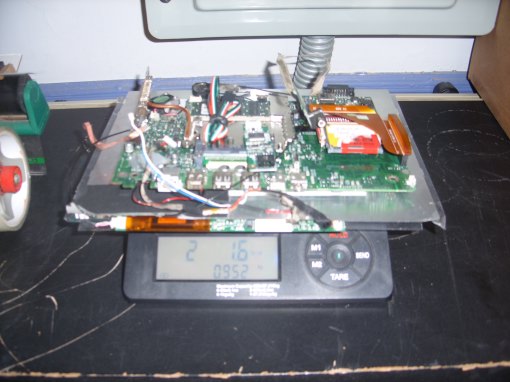
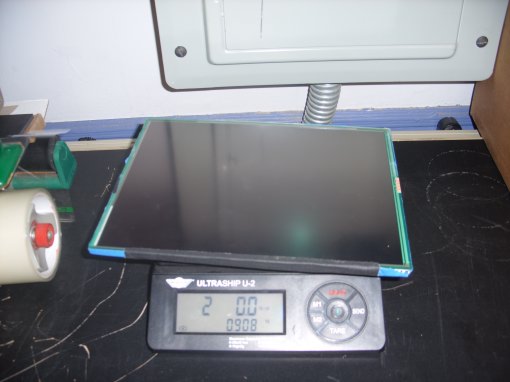
Getting an idea of the final weight by collecting all the parts. In this case, we're at 2 lbs, 2 ounces...
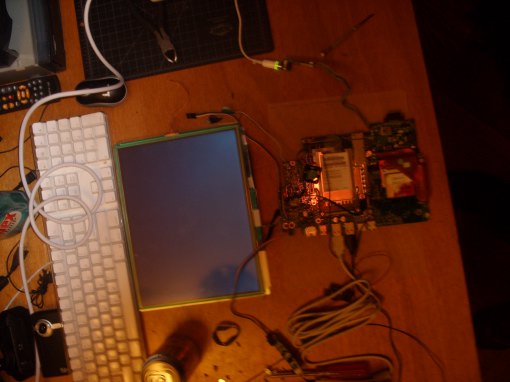
Another boot test along the way...
Messing with the touchscreen controller, plugged into the USB port. I needed to do some very finite splicing to attach the old connector to the new, flat cables that the screen terminated in.
Packing it into the smallest package - I wrapped the thing in blue painters tape. This added no weight, but was strong enough to hold it together and still work. The power cord is on the right side, the speakers are on the left and right at the top of the screen. The power button is behind the speaker on the left.
Gave it a final weigh - again, no extra buttons or touchscreen controller in this package. We're at 2lbs!
I should point out - there is no battery in my device. The legacy battery for this laptop sucks anyway, plus, it's really heavy! My attitude is that you don't walk around reading. As long as you can sit down to read, you can do it by a power outlet. I do use the legacy power adapter, and can replace it with any other iBook power supply in case of disaster!
Booting back at the testing station, now with only a mouse, and the virtual on-screen keyboard! We'll have to install drivers for the touchscreen and the joystick/extra buttons.
I've installed my custom eBook desktop, pictured and linked below.
Come back in a few days for part 3 of this developing saga. First attempt at packaging the final product - using foamcore as the structure!
final strip-down - all extraneous parts removed, and still booting!