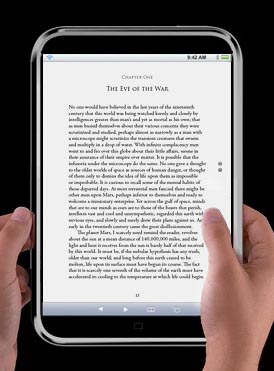
I was sick and tired of waiting for Apple to release the killer app of e-readers, the largely talked about and speculated iTablet iSlate iPad. Once it's released, it will destroy the Nook's and Kindle's of the world. It will look and act like an iPhone, only be much bigger, and cost a thousand bucks five hundred smackeroos.
I thought the CrunchPad JooJoo might beat them to the punch. The dream product of Michael Arrington, founder of TechCrunch, albeit developed by other companies on his behalf.
I'd seen the previews months before, and TechCrunch was claiming a $300 price tag. Recent stories from both camps now detail the breakup of this joint venture. As of this post, they've announced the release of it on December 11, 2009 under a new name, and a surprisingly higher price ($500) than expected.
No More Waiting...
Being a self-described 'hacker', i knew I had the gumption to slap together my own iTablet using the guts of an iBook. A 12" screen is nearly the size of a sheet of paper, which is my target screen size for reading PDF's on screen. The most important part is removing heavy parts from the iBook, and re-securing it in a new case that's durable and has options for some expansion and/or repair. Thus, began...
The eBook Project
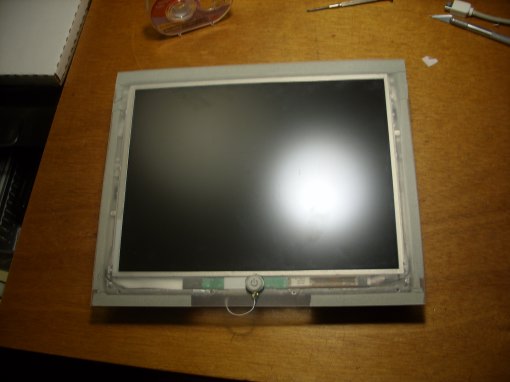
I'd picked up a cheap iBook 500mhz off Craigslist, cause it had a few issues; a flaky power supply, a flaky video backlight (only to a certain angle...?), but booting and usable! Not bad for $100! Next up, I trolled eBay for a suitable sized touchscreen. Seems they're in steady supply, and again, only $70 shipped.
(Edit: this 12" touchscreen seems about right for the job)
I wanted to add some external buttons to the device, without taxing the size/weight too much. In this case, I used an older USB joystick (again, eBay, around $10 shipped, gutted to the motherboard) with hand-soldered new buttons to replace some lost keyboard shortcuts. We'll get into this toward the end of the build.
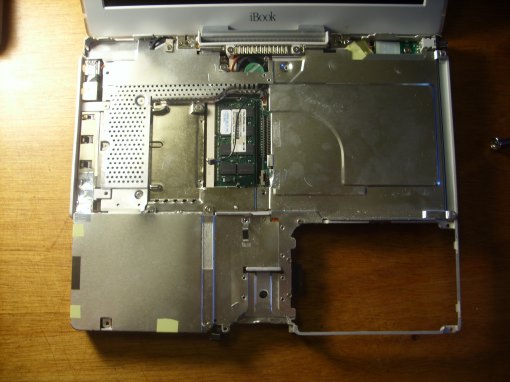
Here's the iBook at the beginning of the dismantle. The keyboard and mousepad are removed, as well as the plastic outer housing. We've reclaimed the power button and speakers out of the plastic assembly for later reuse. We'll remove all the metal shielding to reveal the motherboard and drives below it. For the step-by-step instructions, I used the awesome iFixIt guides.
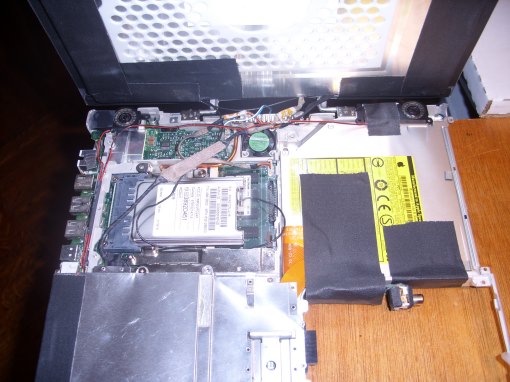
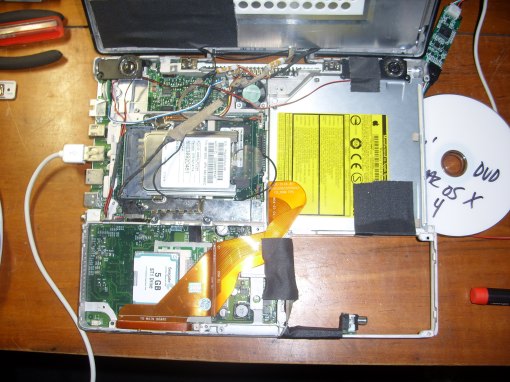
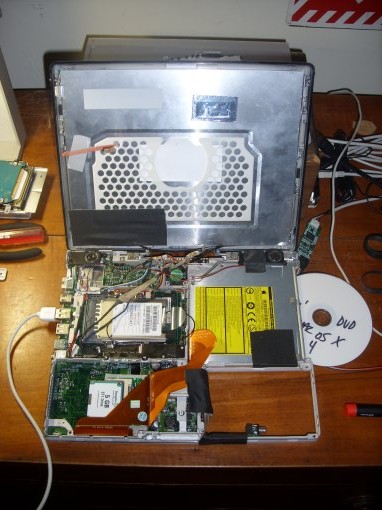
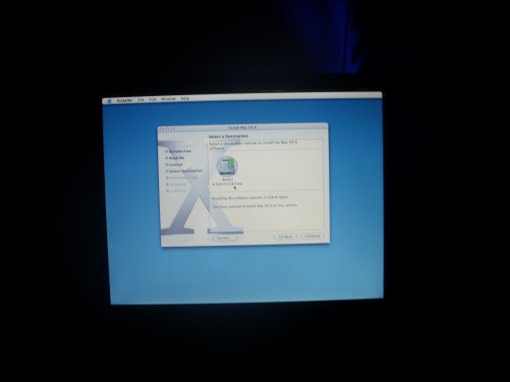
Here's the iBook, with the majority of plastic removed, and the screen has been reversed so that it points out. I've relocated the power connector to inside the battery bay. Still booting from the internal hard Drive, I used the internal CD ROM drive to install the OS (in this case Mac OS X 10.4)
Closer look at the layout, notice the prolific use of gaffer's tape to secure any/everything!
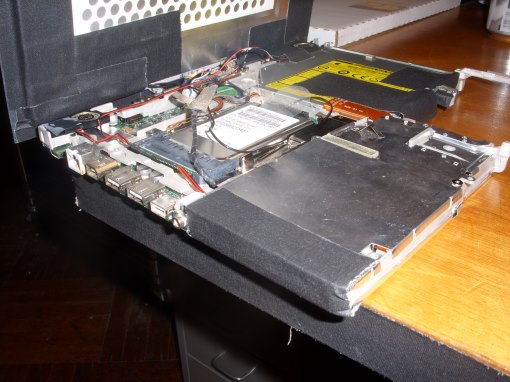
Port side of computer.
Working prototype, except it's not working. It boots, but the touchscreen doesn't work yet.
In order to make the eBook truly viable, the hard drive needed to be replaced with flash memory. Now I can swing and rotate the reader without fear of crashing the hard drive. In this picture, I'm trying to install the OS onto a 5GB Compact Flash card with an CF to IDE adapter. In this case, it didn't work with this drive, or this adapter. I switched to a Mac-supported Addonics CF to IDE 44 Adapter and a different CF card and they both worked fine.
Wider shot of the same.
Here, I'm pointing to the secreted power button, inside the case beside the ethernet port.
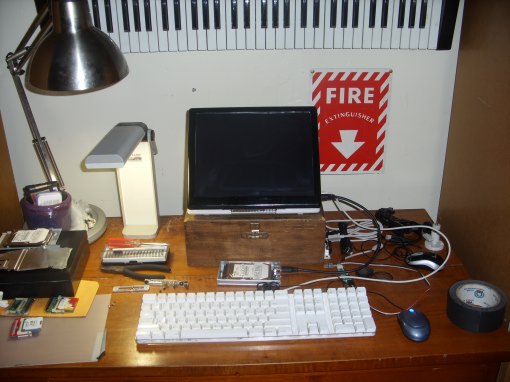
Temporary Testing Station, with external keyboard and mouse to facilitate installation of required software.
Booting from the 5GB Compact Flash card...finally! But boy, is it slow! Plus, since it's not a real hard drive, Disk Utility claims the boot drive is failing S.M.A.R.T. status, so it won't allow me to fix disk permissions!
Come back in a few days for part 2 of this developing saga for the bare-bones working prototype - the final strip-down - all extraneous parts removed, and still booting!
