Don't let that date confuse you - I took these pictures for this blog post in 2014, and only now managed to dig them up, crop them and post instructions here in August of 2018. Hopefully these brief photo instruction tutorial will help anyone fix and repair the snapped 1/8" magnetic tape on a compact cassette tape and get it playable once again!
How to fix a snapped magnetic Compact Cassette Tape - Splicing 1/8" magnetic tape
Understatement
By Andrew Davidson
on April 9, 2014
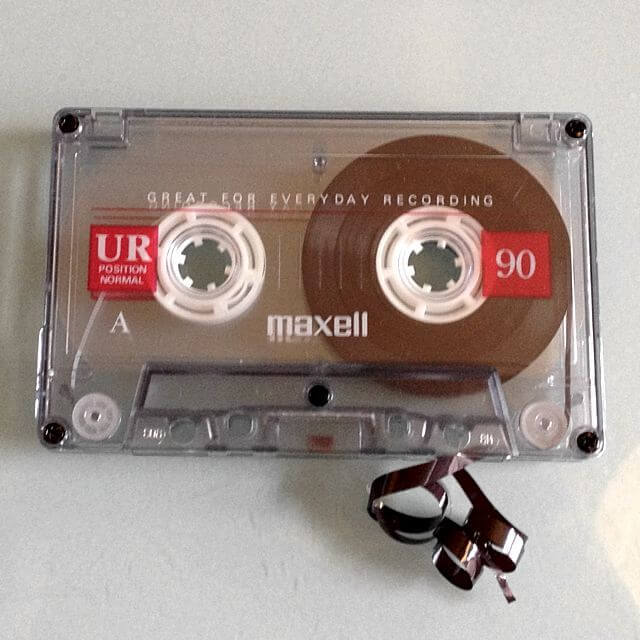
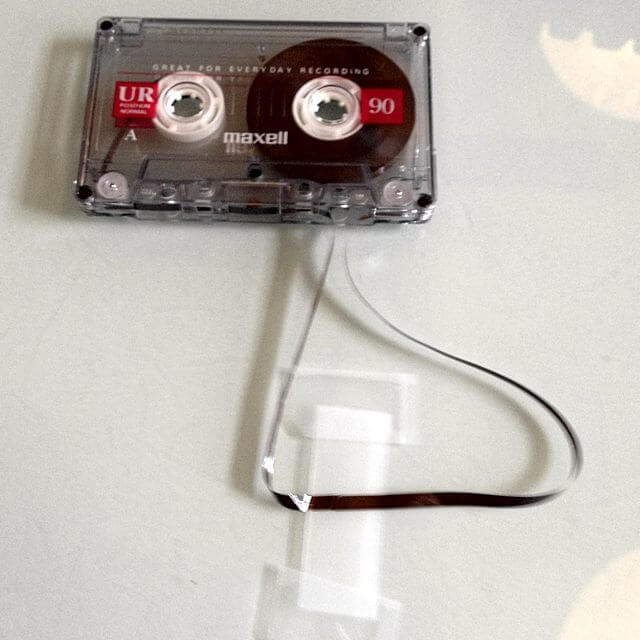
Snapped Tape, with leads outside of shell
This is our same tried and true method of fixing customer submitted broken tapes to our fantastic Cassette Tape conversion service. You'll need some sticky (magic) tape and an xacto knife to do the splice. You can also trim your work with scissors very gingerly, but be careful not to negate your hard work by snipping the magnetic tape again!
If the tape leads have been drawn back into the shell, you'll have to get them out first. If it's got a screwed together case (like the tape pictured), simply remove the 5 screws holding the two plastic lids together, feed the tape lead back out of the tape, being sure to follow the expected route and don't allow twisting. I like to get both leads exiting the resealed tape via one of the holes in the bottom (the same hole, otherwise your fix will be twisting in and out of the case).
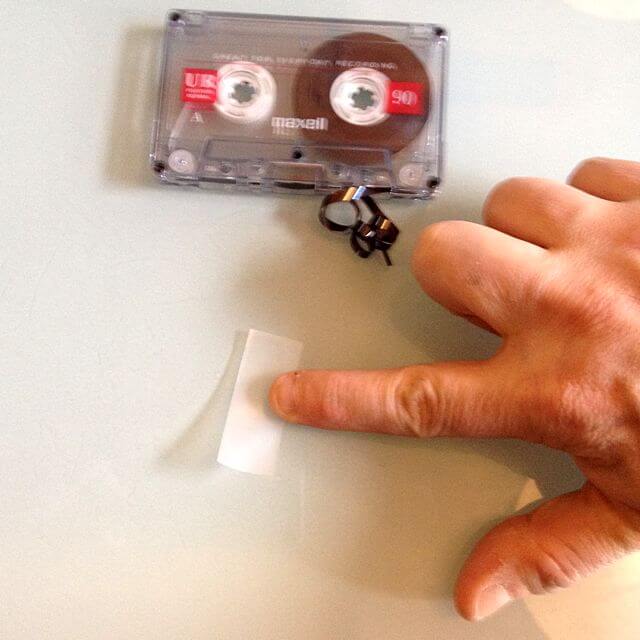
Upside-down sticky tape
We're gonna work slightly backwards. Instead of trying to wrangle the magnetic tape in place, we'll create a flypaper arrangement of sticky tape, and stick the back of the magnetic leads to the upturned sticky tape. Grab a small 2 inch piece of sticky tape, and place it upside down on your work surface, then use other pieces of sticky tape to stick it down to the surface.
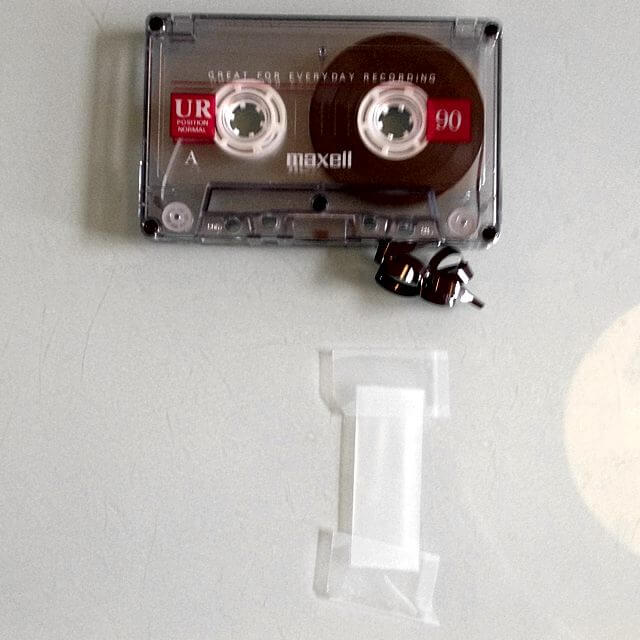
Taped down and taunt
Tape the top of the sticky tape down first, then when you tape the bottom, you can pull it flat so it lays perfectly flat on the surface. Now you have a big area to work with! I set the cassette directly above the tape, especially as where the tape leads exit the shell. We don't want the tape to accidentally get snagged on the sticky tape.
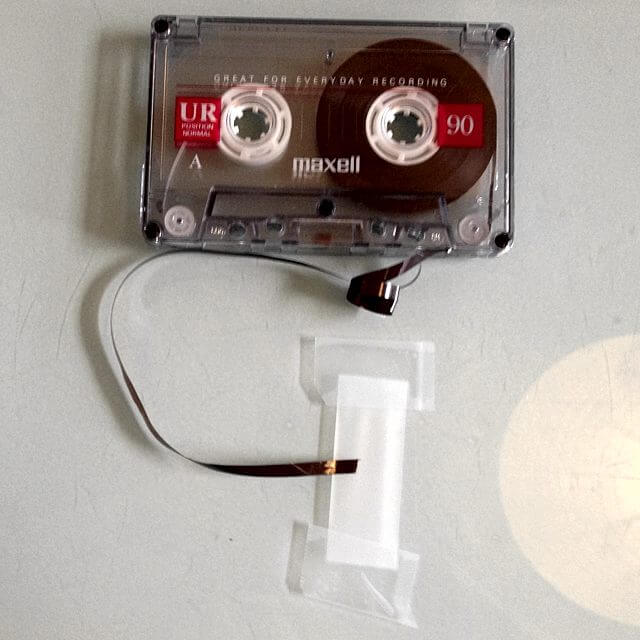
Side A in place
I start with the left feed, ensure it's straight coming out of the tape cassette, and that I don't twist the magnetic tape lead. I give myself some slack, and stick the back of the magnetic tape (this side faces the inside of the tape) anywhere on the upturned sticky tape, then tamp it down quickly with a light finger touch. Direction and angle don't matter so much with this first half, as we'll be paying more attention to detail on the second half.
Side B in place
As you can see in our last step, the incoming lead is at a slight angle, and it has a slightly tapered cut at the end. Gingerly working with the untethered magnetic tape lead, ensure it's straight coming out of the tape cassette, and that I don't twist the magnetic tape lead, I can gingerly set the other half of the tape so that it matches the previous cut and angle perfectly. Once happy with the placement, a quick light stab of my finger ensures the magnetic and sticky tape are joined.
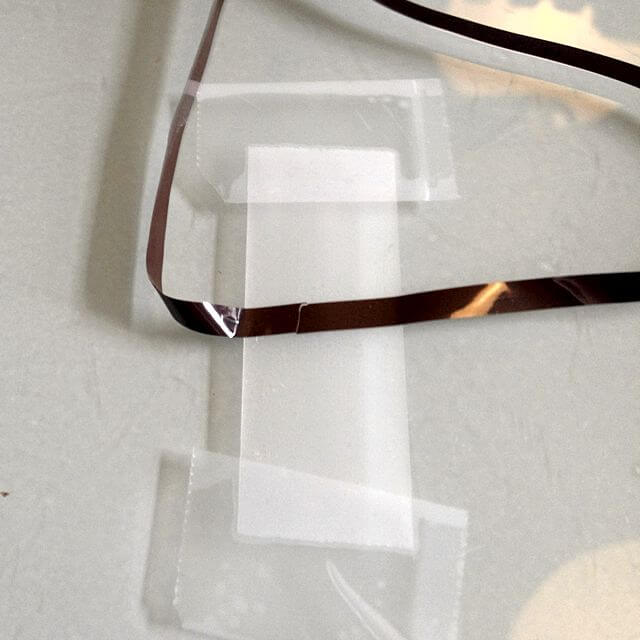
Splice detail
This particular cut was very sharp, but I've fixed long angled cuts that are inches long by using bigger pieces of tape and angling the magnetic tape leads diagonally across the tape. With a seam this well fixed, the final audio result will barely have a blip in the stream.
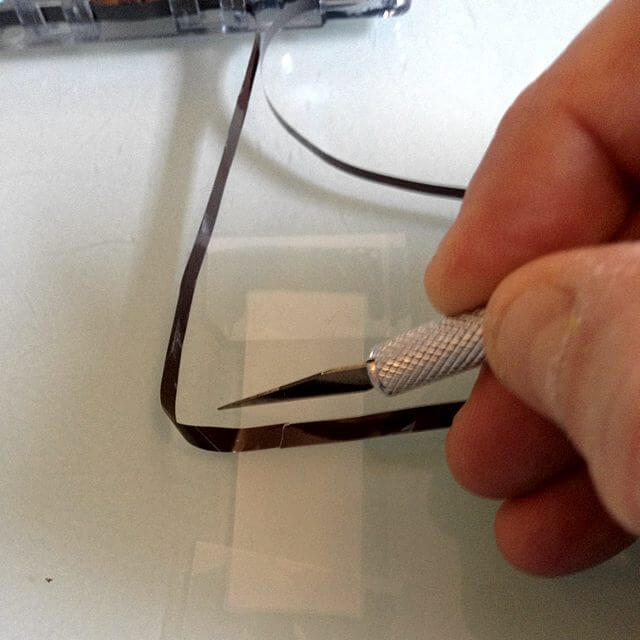
Trim Tape Sides with Xacto knife
The final step - trimming the magnetic tape away from the sticky tape. With a steady hand and a sharp eye, you can cut along the gutters of the magnetic tape, slicing away the extra sticky tape. Use a very sharp or very new xacto blade, as you don't want a dull blade ruining your splice. You also don't want any sticky tape exposed or left over - as it'll gum up any tape deck heads you play it on, and will require getting them fixed and/or cleaned.
Once freed from the sticky tape, simply scroll the magnetic tape back into the plastic clamshell (a twisted pencil in either geared hole does the job). I like to fast forward and rewind the tape fully to ensure it's loose and ready for playback, and you should expect perfect audio results! If you decide you'd rather not fix it yourself, don't forget you can send your broken cassettes into our Cassette Tape to CD and MP3 conversion service, and get it fixed by us!