It's time to make a backup of your SD card, so you can reboot in an instant with a backup!
Just like I went over in my Raspberry pi bootstrap, it'll take a bit of command-line fiddling to make perfect backups of your hard configurations!
Shutdown your Pi gracefully using this command (delivered either via an attached keyboard, or by SSHing into the Pi.
sudo shutdown now
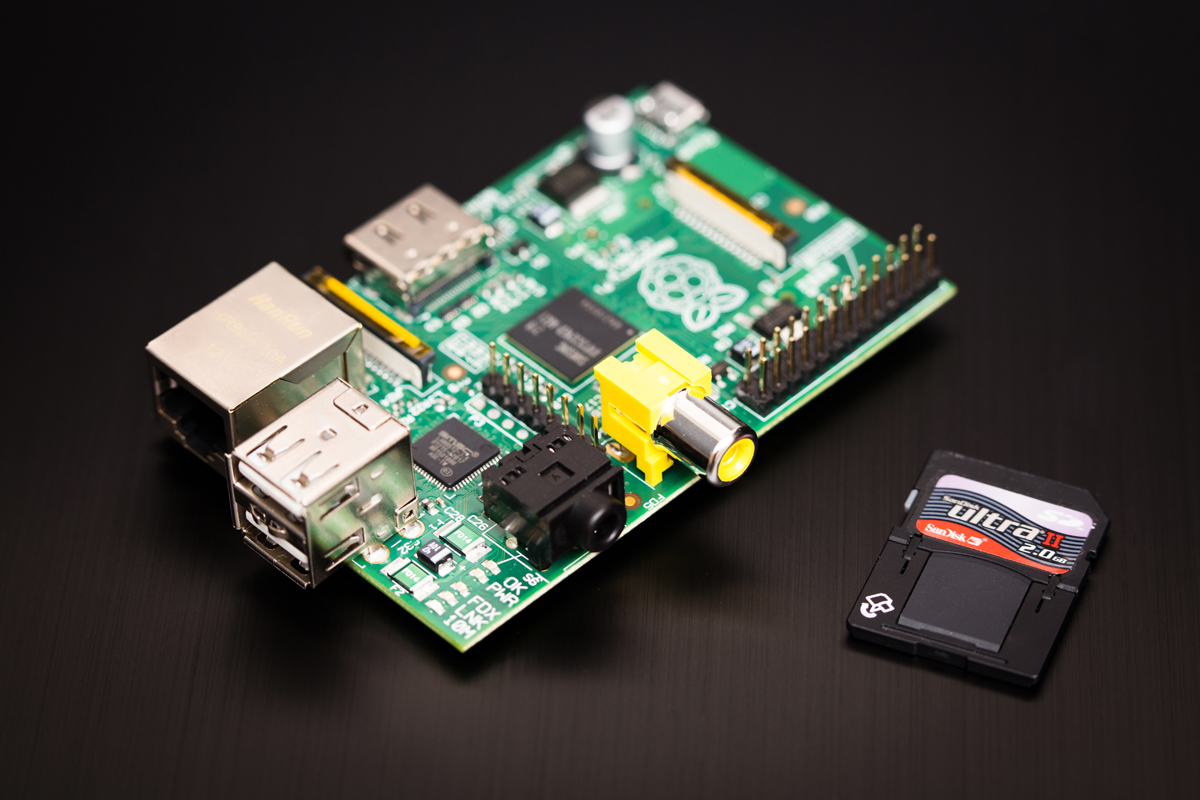
Pop the SD Card, and stick it in your Mac; either the built-in port on newer macs, or simply through the use of a USB adapter. If it shows up on your desktop as a disk named 'boot', you're good so far.
First, we need to determine the disk name of the SD card (it's not 'boot'). Open the Terminal app in your Utilities folder and type the following command:
diskutil list
It'll list all of the disks attached to your computer, including the SD card. It will be named /dev/diskn, where n will be a number from 0 on up. In my case, I have a lot of hard drives attached to my computer, so my SD card showed up as disk4.
Making the Backup .img
Now that we have all the info we need, we can make a disk image suitable for copying back to a new SD card by using the following command. Note the r before the disk4 in my command. This gives much faster copies - trust me.
sudo dd if=/dev/rdisk4 of=~/Desktop/RaspiOS.img bs=1m
You'll be asked for your admin password, and then it'll silently make a backup of the disk image. This left me with a massive 8GB image on my desktop named RaspiOS.img. It's a perfect copy, ready for burning back to a new SD card, via a little switching of the previous command. You can also backup the .img file for easy recovery at a later date. For example, copying a 4GB SD Card took around 6 minutes on my computer.
Making the Backup .img Even Smaller
If you want to store compressed versions of the disk image (I do, I need revision control), I use the unix pipe to gzip the disk image for considerable savings.
sudo dd if=/dev/rdisk4 bs=1m | gzip > ~/Desktop/RaspiOS.gz
In my case, my gzipped image weighed in at only 1.2Gb, and that's much easier to copy and store. However, copying a 4GB SD Card took around 90 minutes on my computer!
Copying the Backup .img Back!
Alright, you should probably keep a mirrored backup of your SD card with your Raspberry Pi in case of disaster. We'll now make exact duplicates of your Raspberry Pi boot disk. You'll have to eject your master SD card, and put in a new blank SD card first.
Before you copy your disk image back to any SD card, however, you'll need to unmount the disk (do not eject!). Use the Disk Utility app in your Utilities folder to 'unmount' the SD card. The disk icon will disappear from your desktop, but the disk will remain in the list in Disk Utility.
Then you can quickly make a copy of your boot disk by running the following command:
sudo dd if=~/Desktop/RaspiOS.img of=/dev/rdisk4 bs=1m
Did you store a gzipped version of your OS? There's no need to uncompress the image before you copy it back to a SD card, as using the same pipe can decompress the file and copy it to a new SD Card.
gzip -dc ~/Desktop/RaspiOS.gz | sudo dd of=/dev/rdisk4 bs=1m