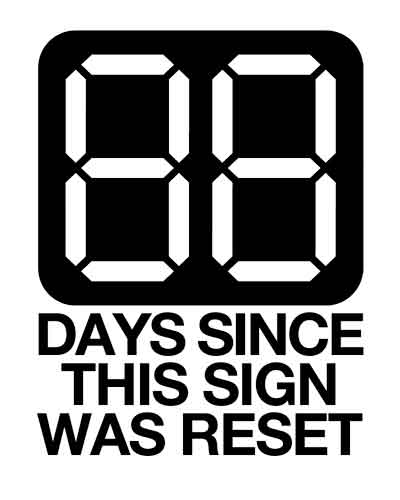
 I often save comics that I love in a folder and this one tickled my funny bone more than once. Not that this awesome (and old) XKCD comic deserves a deconstruction, but alas, here I go.
- The sign appears to be hand-updated, with 'numbers' hanging from a catch. Therefore, shouldn't it always be 00?
- Who is someone?
Again, I love this comic, and check it three times a week like clockwork. This particular project seemed like a logical 'stupid' product, sort of like the Pet Rock. All packaging, and no function.
I wanted to create a 'digital pet' that would automatically update itself, use a tiny bit electricity, and hopefully get a chuckle out of everyone who saw it.
I guessed an appropriate size, based on available stocks and frames, and decided to shoot for a 16" x 20" sign. 10 minutes working in Adobe Freehand MX and I produced this right linked PDF file, which I took down to Kinko's FedEx Office and had them enlarge by 200%.
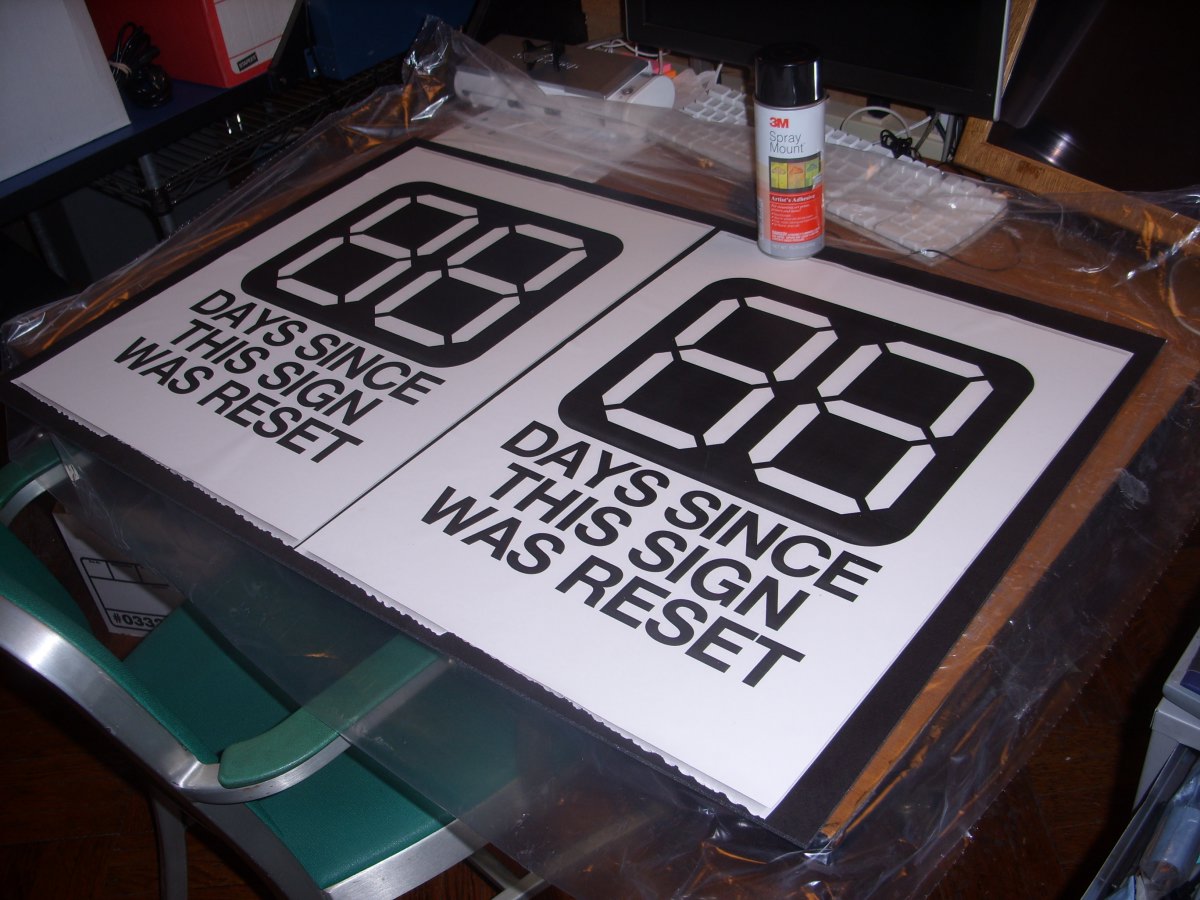
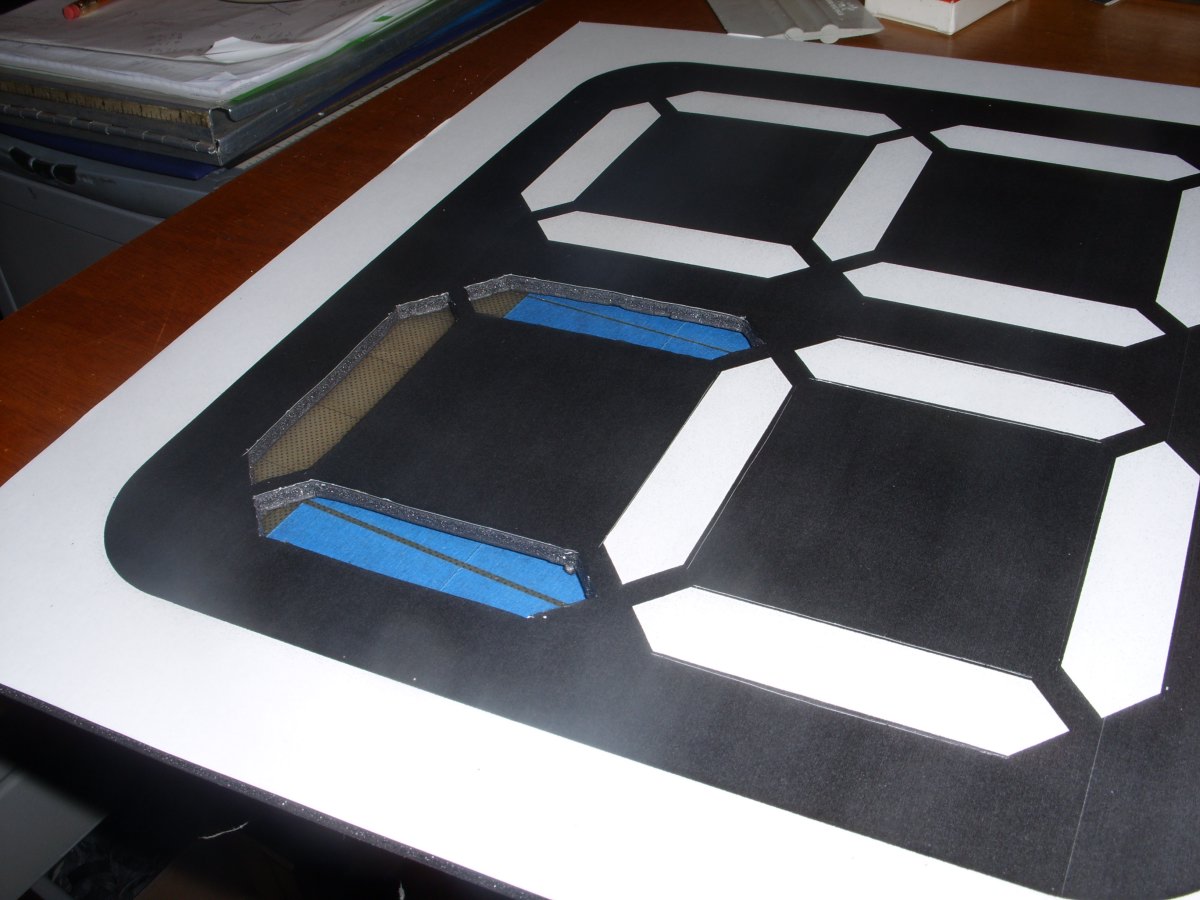
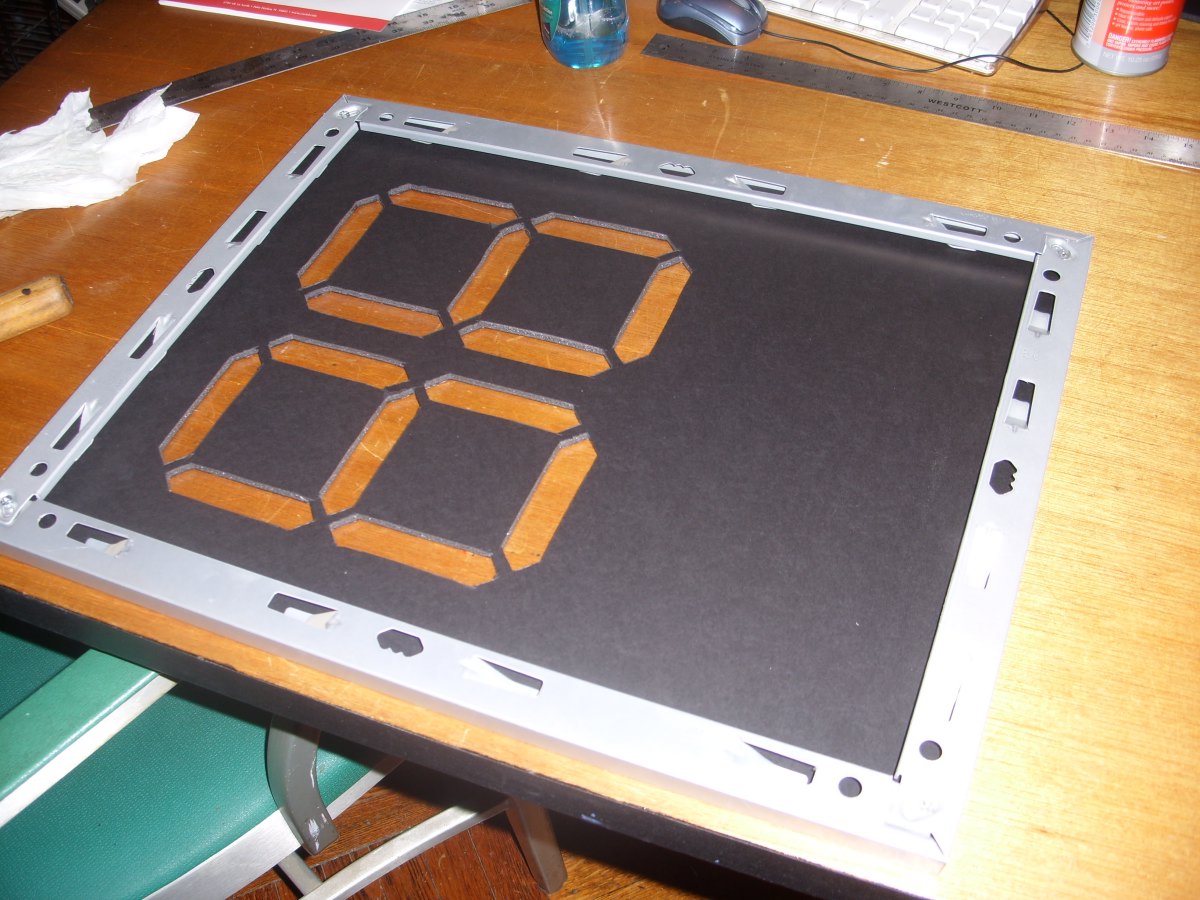
Next, I spray-mounted the prints onto black foamcore, and cut out the 'number' holes for both digits with a sharp xacto blade. Since it's mounted on black, the holes disappear unless they're illuminated from behind - which we'll deal with next.
Getting It to Light Up
I was trying to keep the energy draw of this device to a very low rate, so at first, I did some tests to see if I could get acceptable illumination from a minimum of LED's. Thus my stop-light test was created.
Basically, this is a sand-blasted finished plastic behind round cut-outs of a piece of white foam core. Behind the plastic is a larger hole, with 2 colored LED's at the left and right sides, shining in toward the center of the circle. Each circle is backed by silver shiny coated sticker paper to reflect all light up and out.
The Bad News
It only works in the darkest of nights, and the red is the one that looks best. See my pictures below for proof.
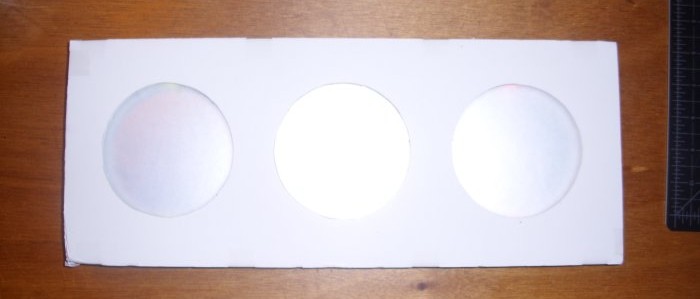
Lights On, with Camera Flash - what LEDs?
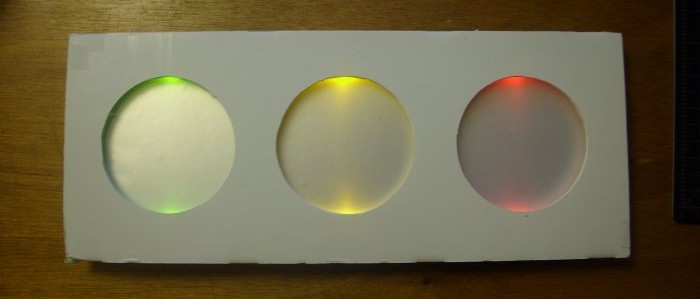
Light On No Flash - I guess I can see it...
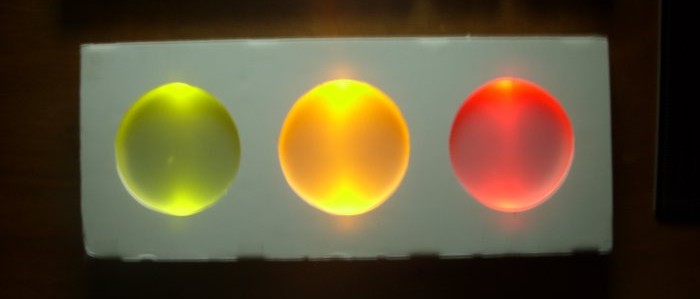
Only my Computer Monitor is on, and now its out of focus!
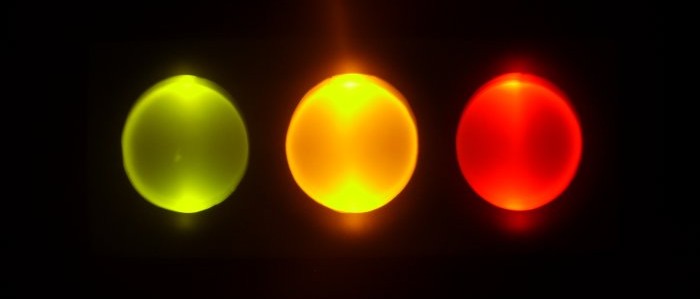
No ambient lights, long camera exposure - looks good! Damn.
So what if you can't read the rest of the sign? (Hint, I do) Back to the drawing board for a second attack on the illuminating numbers!
Second Approach
Side-mounted LED's and a plexiglass frame with distress hashes to capture the light and reflect it up? Let's see how out test turned out:
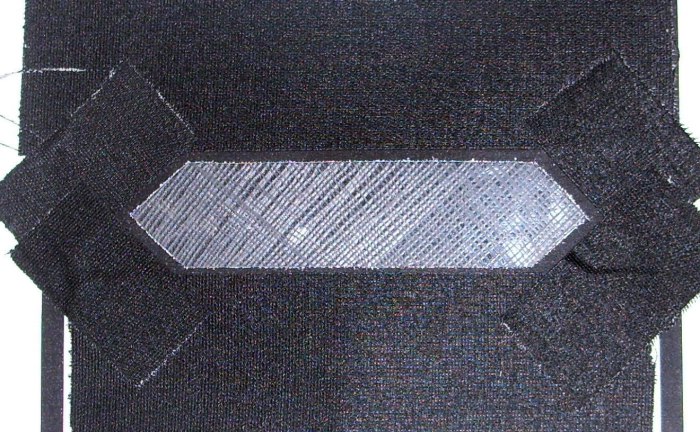
Single Side-illuminated Plexiglass with Scratches - Lights On, but with a flash it's blown out.
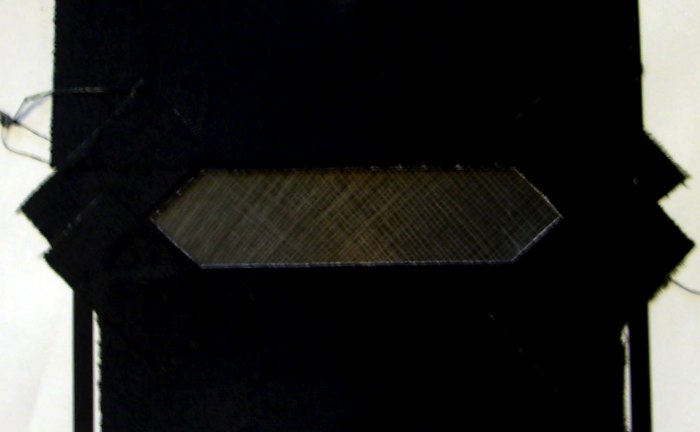
Single Side-illuminated Plexiglass with Scratches - Lights On, No Flash, No see...
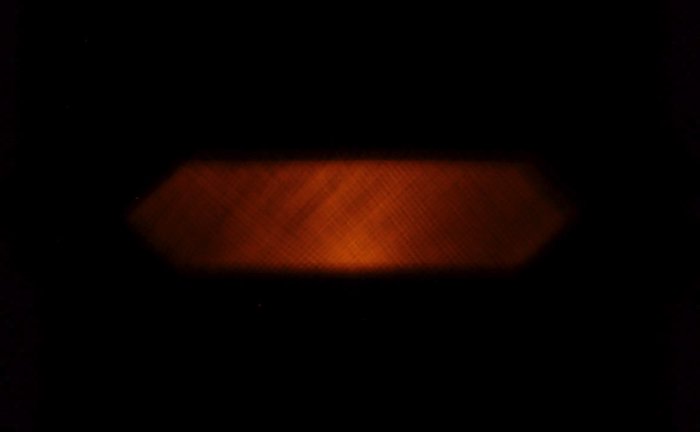
Single Side-illuminated Plexiglass with Scratches - Lights Off, No Flash, Barely There...
Still not the best, but I might like to try it with the final shipping LED's, and possibly use thicker plastic or styrofoam, and use 2 or more leds in series for each part of each digit...
I found some other projects on the internet to give me hope. SparkFun's 12ft GPS Wall Clock is a great example of large 8-segment digits, albeit larger than I need. Plus theirs uses 12V LED boards, and saps quite a bit of juice for a clock.
Another Solution?
I'd been considering electroluminescent strips, if they weren't so pricey. I managed to stumble across this package deal, which seemingly offers everything I'd need to produce at least 2 signs, and have optional power supplies to boot!
The tape is not as thick as I'd prefer, but it'll work in a pinch - only 10mm wide, I can cut it into short 100mm strips for each section of each digit (all 14 of them) and still have a bit of breathing room, I hope!
Denied, Again!
After perusing the specs of electroluminescent strips, the problem is voltage. They require 125V to illuminate, and the inverter is usually turning the DC voltage into 125V at 300mA. I'd need either 14 inverters, or a handy arduino shield to do the job, neither of which was optional for cost, nor practicality. We're sticking with LED's for their low power draw, inexpensive, and easy to work with low voltages.
