Messenger Bags. While single in name (only for Messengers?), it's has a world of uses. It's a man-pocketbook, survival kit, case-of-beer carrying party starter, a hipster-cred worthy bag that goes everywhere and does anything. When I lived in Brooklyn, I envied my friends Portage Messenger Bag. I've had a few Timbuk2 bags in my lifetime, but I always desired a Philly-produced R.E. Load bag.
Being the hackerly type, I decided I'd try and use my non-internet skills to make my own Messenger Bag, out of fabric scraps and random parts laying about the house.
I plan to give these bags to my family as holiday gifts, to be used for everyday stuff, like hitting the grocery store, etc..
Getting the Basic Design
Using another bag as a rough guide (I liked the size and overall wear), I drummed up some rough measurements on some graph paper:
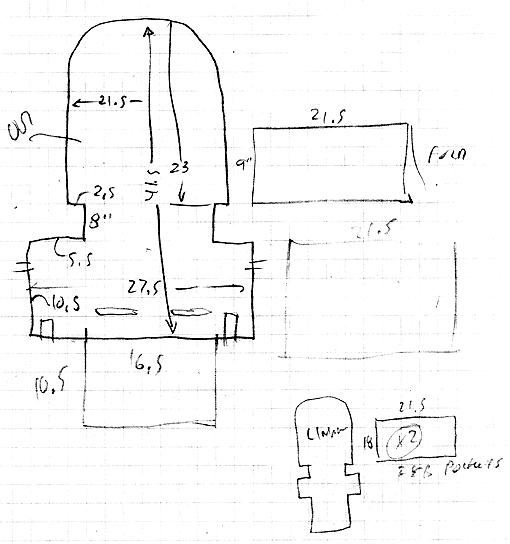
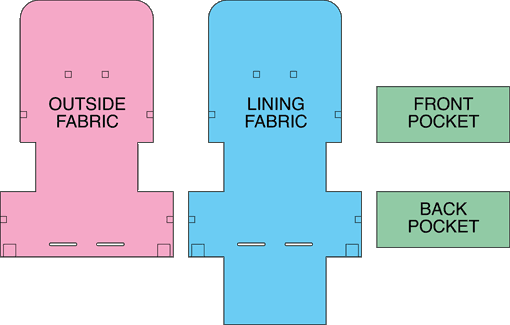
I converted the design to vector format, for the below illustration. I should point out the 'inner fabric' should be slightly larger than the outer fabric, on all sides. We'll be folding it over any exposed edge and using a blanket stitch to 'finish' the edges. The boxes near the edges are for reference where the straps will be attached, it's not necessary to mark them on the resulting fabric. You can click on the below thumbnail for a much larger JPG version.
So basically, you'll need 2 types of fabric, one thicker for the outside, measuring 29" x 42" minimum. The liner fabric can be anything (I used rip-stop nylon), and measure 29" x 53" minimum. The two pockets can be the same liner fabric, folded into 2 layers, with the opening at the bottom of the bag. So you'll need another 2 squares of fabric, 22" x 19".
Measurements don't need to be too exact, as you'll be trimming away the extra fabric after you finish your seams.
Adding the D.I.Y.
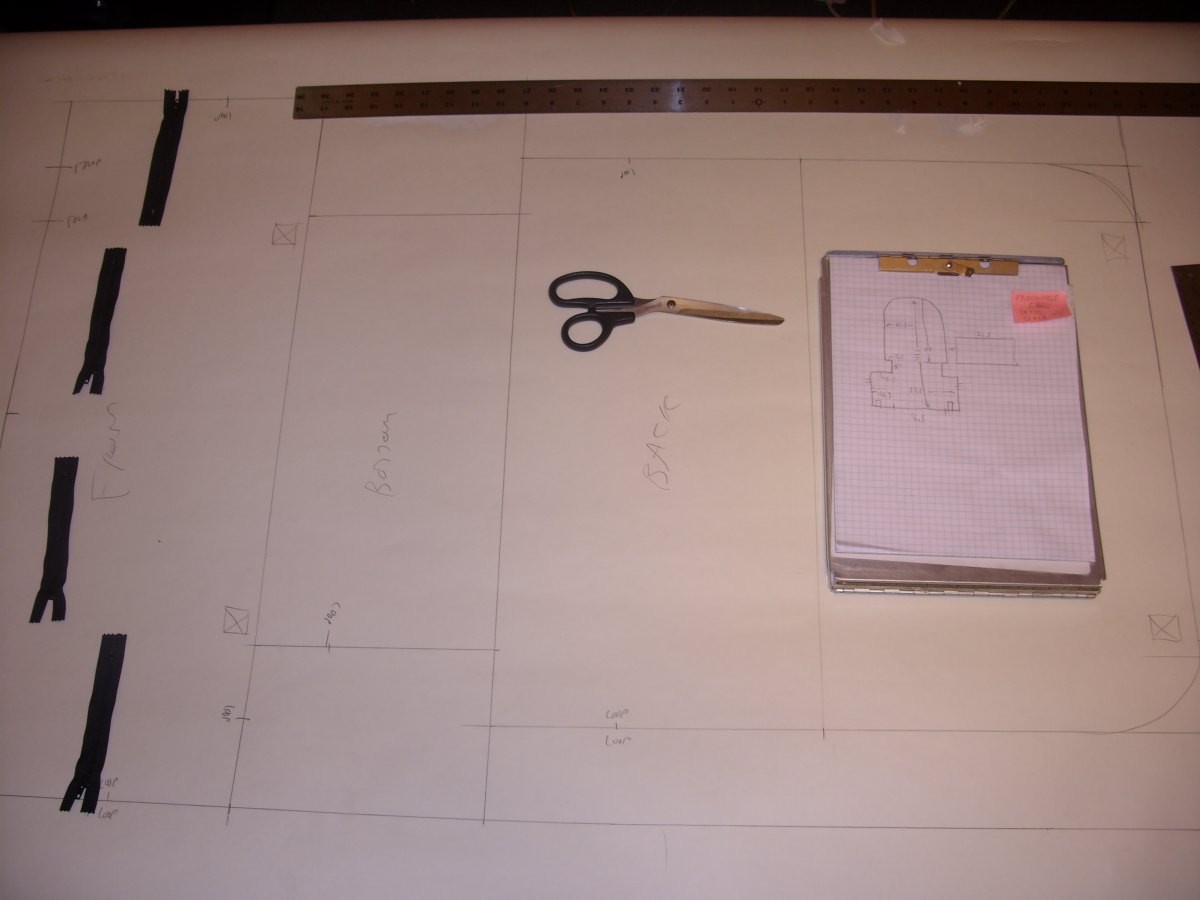
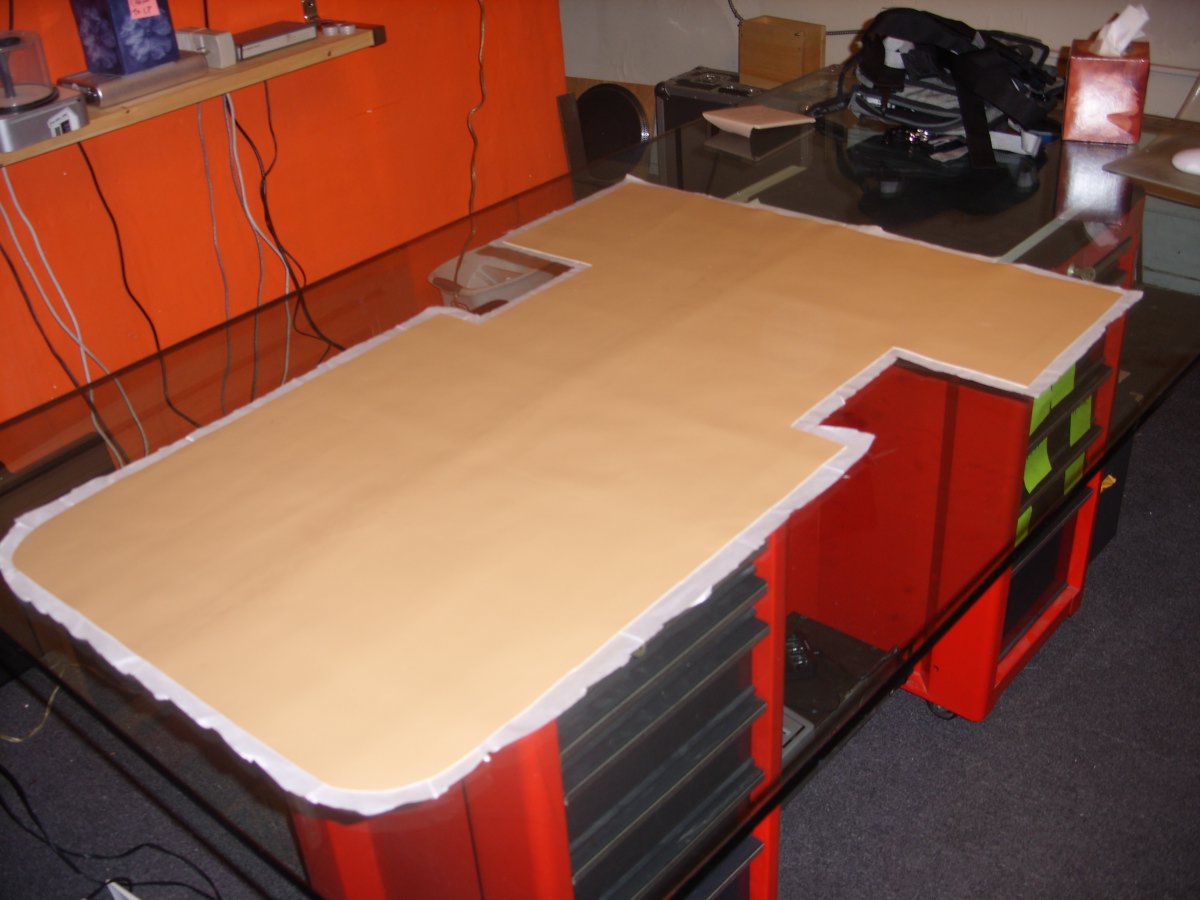
Next up, I transposed the design to a real-size sheet of paper. This was leftover seemless background paper for some old photo shoots. It's a heavy stock, if not overly curled from years of storage. As the design is basically a few boxes side by side, a L-Ruler and 5 minutes, and I cut out my resulting template.
You'll see here I've placed some 4.5" zippers on my design (Yet another unfinished project part!). I was figuring placements and pockets for them while I was sketching the design.
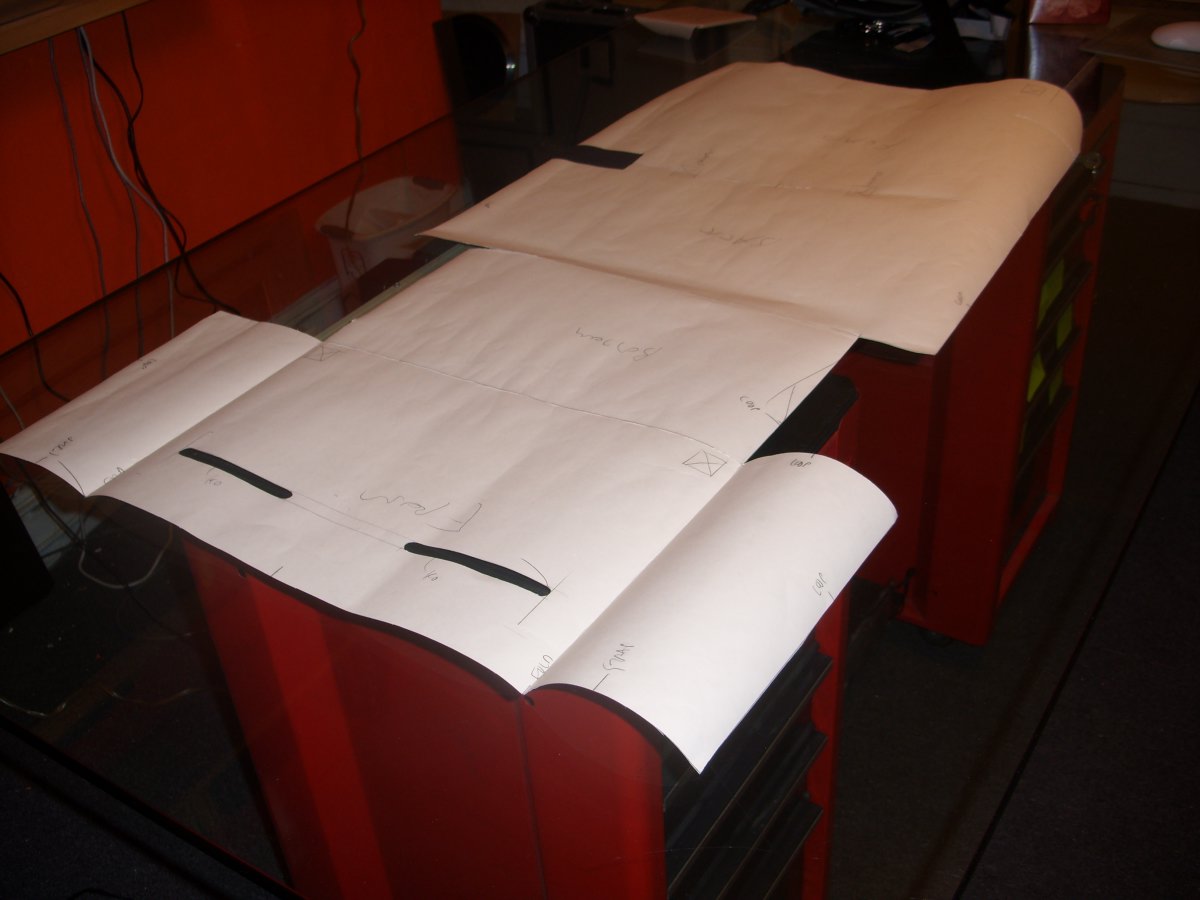
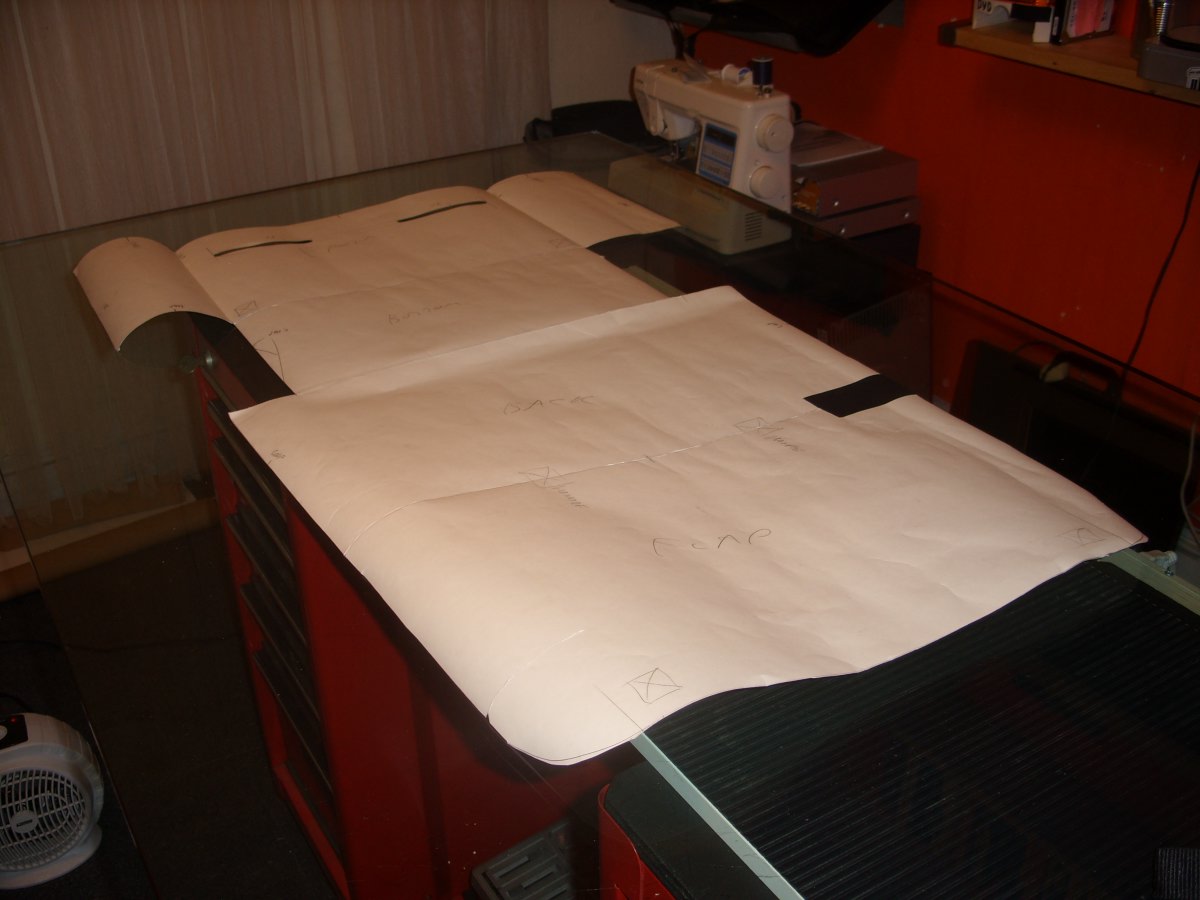
The resulting template, a bit worse for wear, after a few uses.
Scrounging for Parts
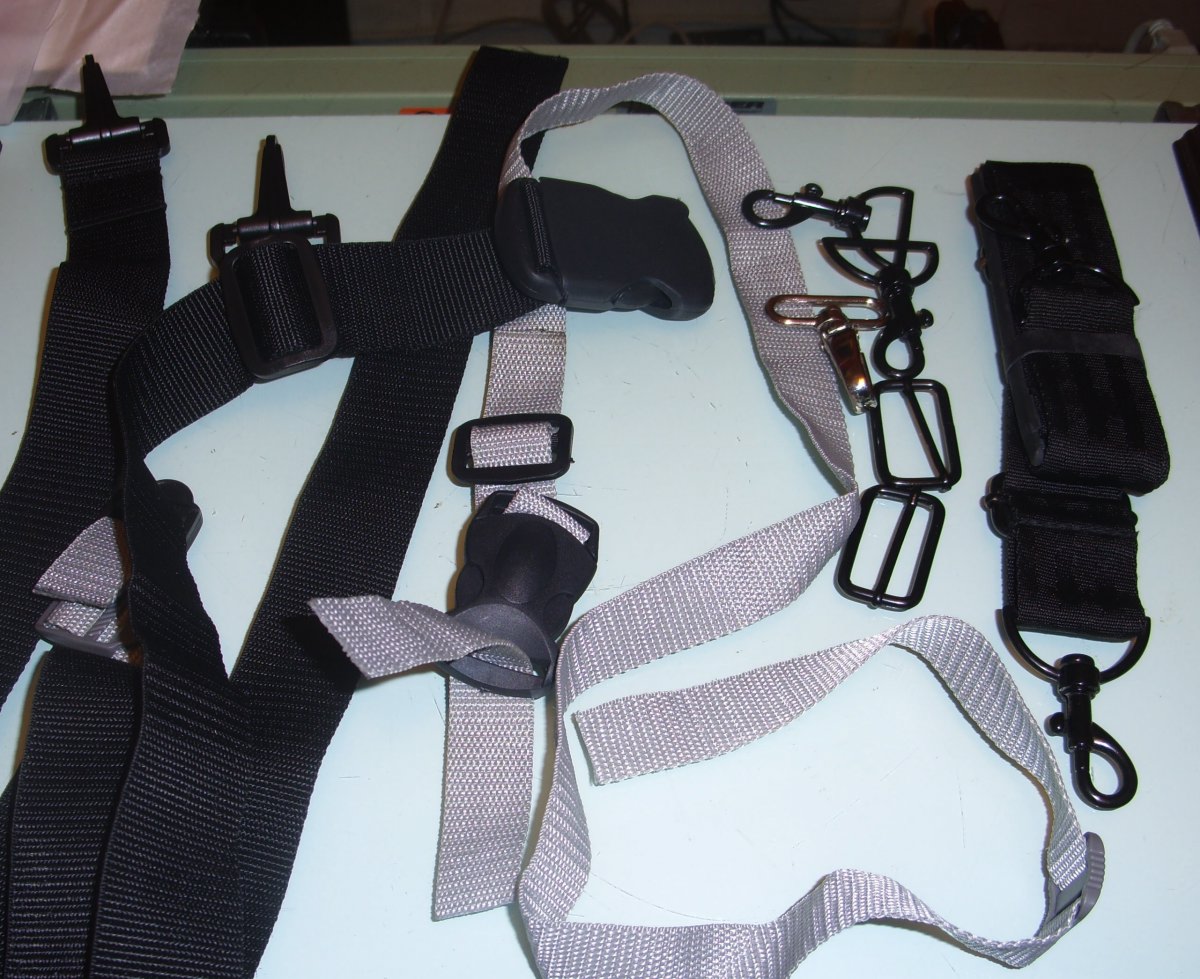
As I burn a thousand DVD's a year for my customers (I do VHS to DVD conversion as well as Vinyl To CD and more), so I've come to rely on buying these large 5" media holders for years now (from one of my favorite online retailers, Computer Geeks.com!). Every time they come with a handy strap, which I immediately toss into my 'reuse later' bin. Digging though it now, I came up with plenty of straps and plastic buckles to properly outfit at least two bags. I've pictured them all below, in no particular order.
As for the outer fabric, I also happened to have some pleather vinyl from some old chair refinishing projects. This stuff is durable, soft, and colorful. The inside of the fabric is not so nice, but we'll be covering it with a inner lining, so no matter.
Since you only need a piece 1 yard long, it's cheap buying remnants down in Philadelphia's Fabric Row. I also bought a bigger roll of 'car-seat vinyl' second-hand from American Science and Surplus.
Sewing Supplies
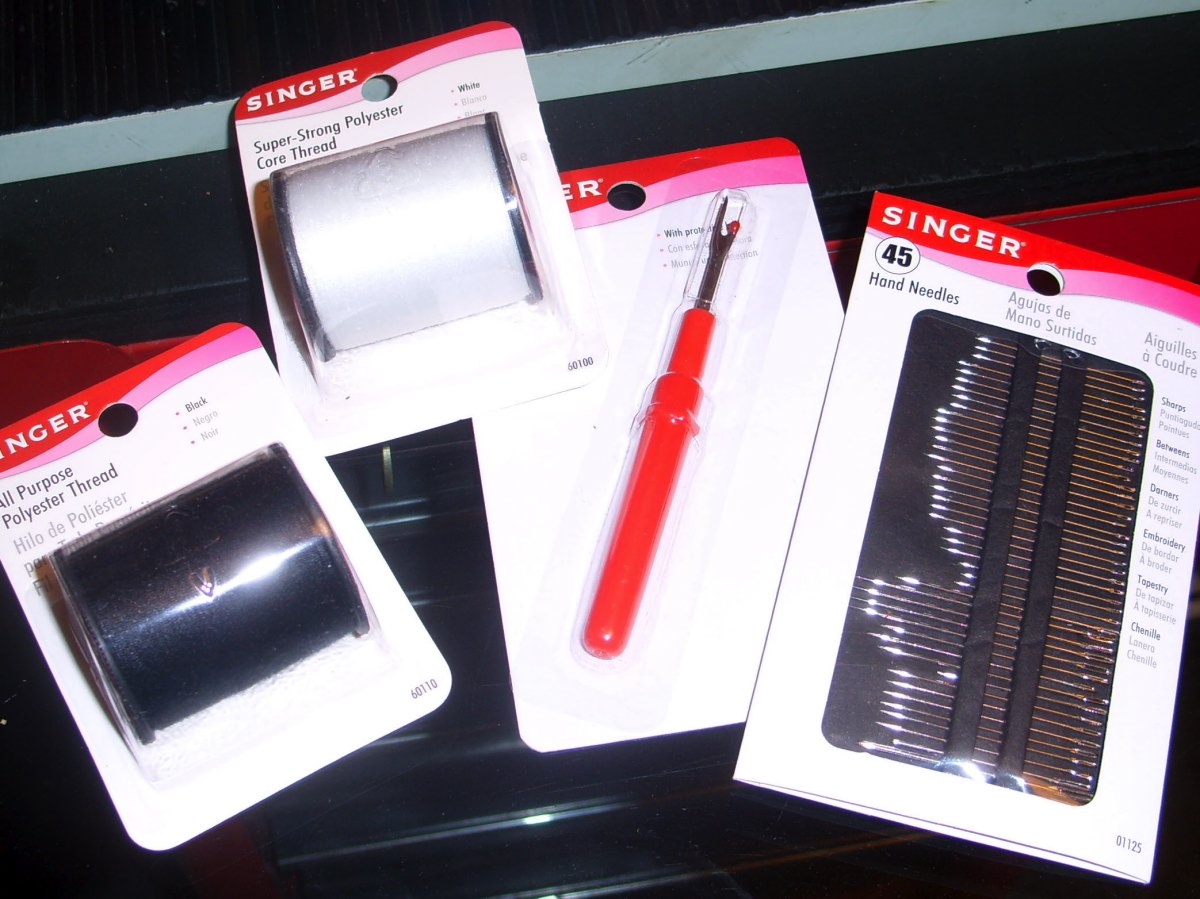
I really didn't have any sewing supplies (being a bachelor and all), so a quick trip to my local drugstore got me a handful of items to begin: a Seam Ripper (I know I'll be making mistakes!), some black and white thread, and a handful of sewing needles!
Transfer your Design to the Outer Fabric
With the 'good' side of your outer fabric down, put your template on it, and trace it onto the fabric. Then cut away the excess. You should end up with a stubby upside down T shaped bit. Below, see my red bag and brown bag as they are cut to size.
Next, we'll apply the liner fabric. You don't need to cut this before hand, as I find it quicker to just trim away the excess. In this case, put the 'good' side of the liner fabric down on your table. It should be larger than your outer liner.
![]()
Then, I spray it lightly with spray tack, all over the liner fabric. I roll up the outer fabric, then place it on the liner, roll it out and smooth it down, making sure there is a bit of room around all sides. Then I trim away the excess liner fabric leaving me with the two pieces joined together.
You can see I've already tacked on the liner fabric and trimmed it in both of the above photos. So much for taking pictures as I go along!
Bookmark and Come Back!
Well, I'm ready to start sewing, but you'll have to come back in a few days to see part two and part three of this developing build. My sewing machine is in need of a tuneup, so I'll be hand-stitching this bag together. Come back for the sewing plan, plus photos as I go along. I'll also be mentioning some tips you should adhere to before you begin this project. Let my mistakes be your lesson!
