Passport Photos on the Cheap (50¢) using our free Photoshop templates
November 6, 2015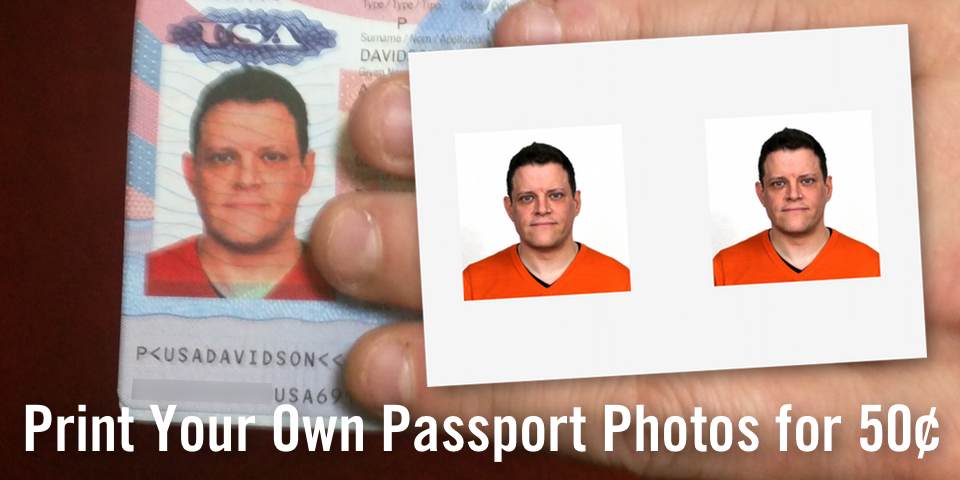
I recently had to get a new passport, mostly because my old one was expired after 10 years of disuse. While I still have no plans to travel abroad, I can in a pinch with my newly minted passport (as seen above), using my cheap and easy passport photo I made myself (also inset above).
The Passport application demands a very specific photo with detailed sizes, and you need to submit 2 exact copies. The nearby photo place next to the Passport building charges $10-$20 a set, mostly due to demand and an ideal location. This is incredibly overpriced, and unnecessary if you've got the time and want to save money. Since I've got some pixel-pushing skills, we're gonna make our own passport photos on the cheap!
Time to D.I.Y.
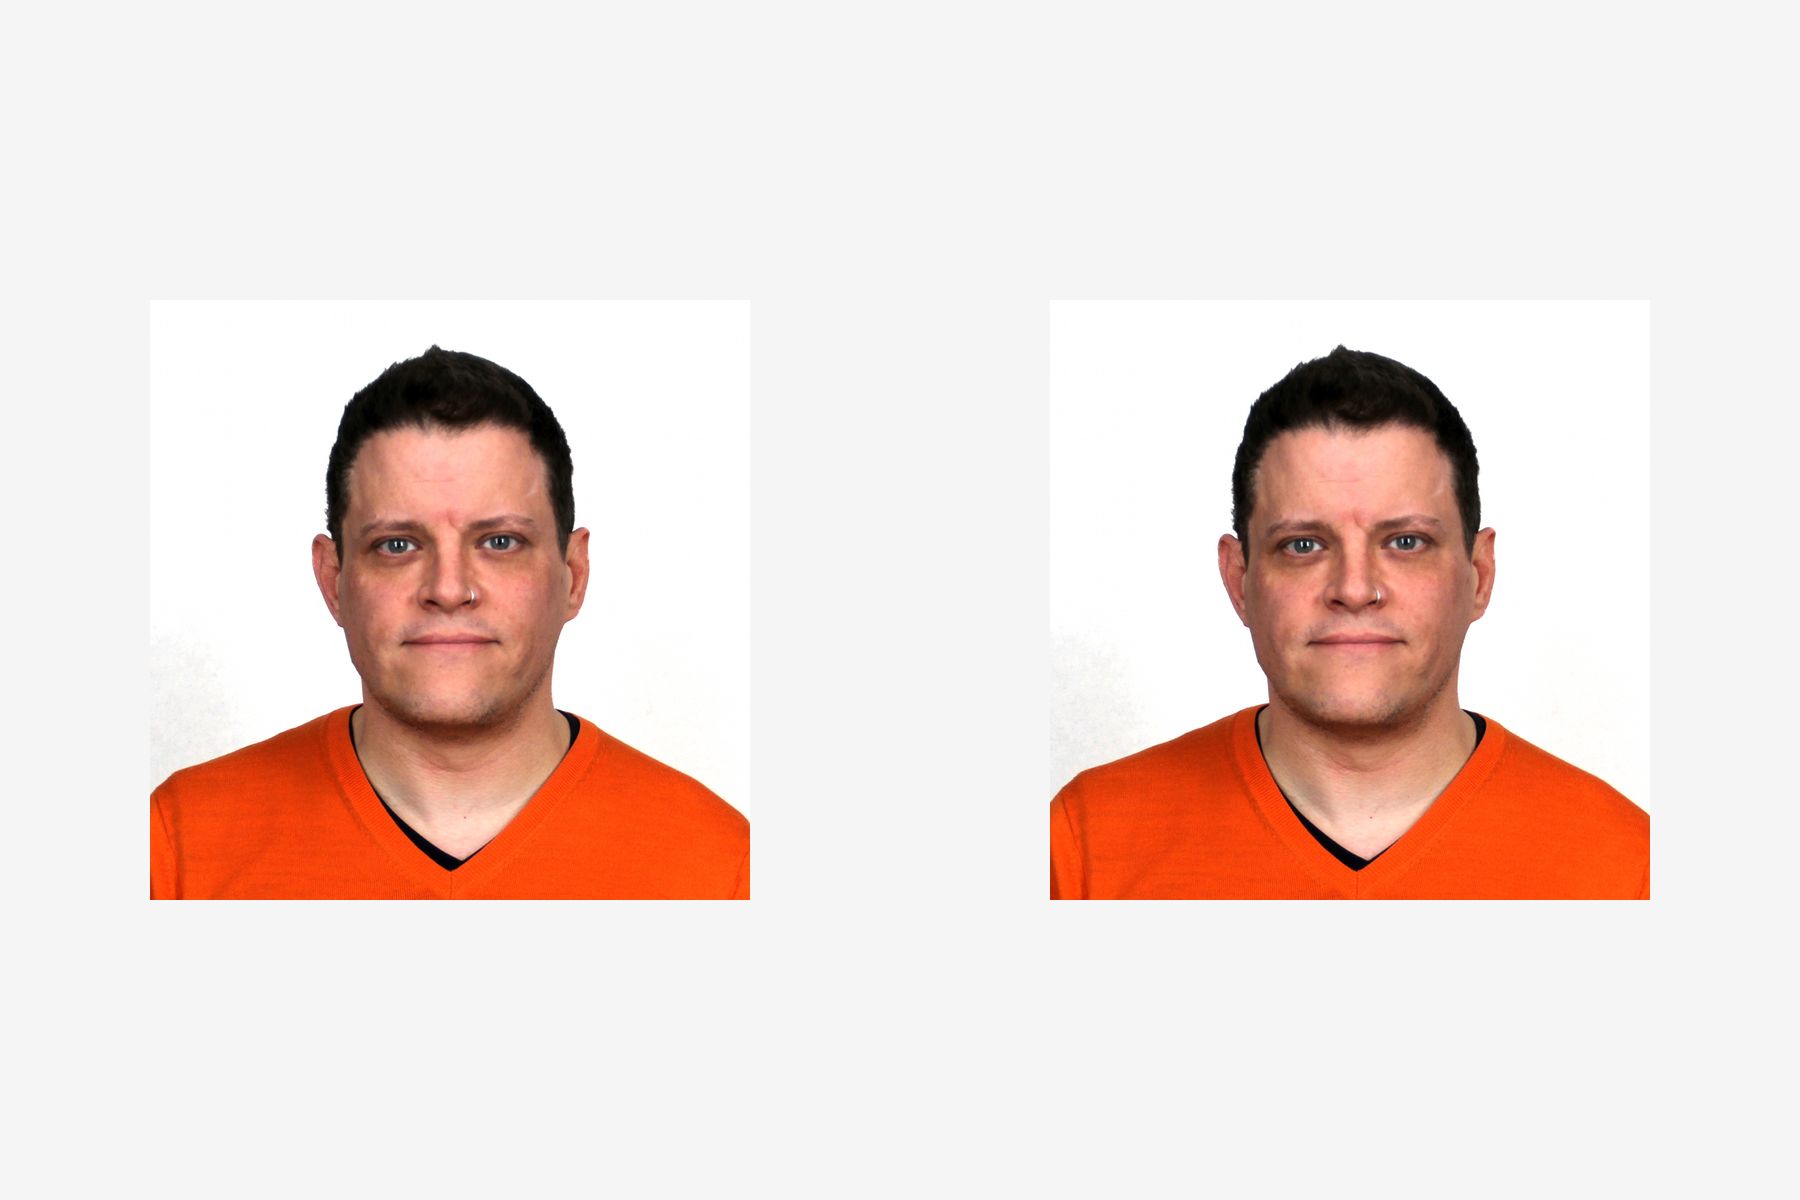
We'll be creating a 4" x 6" full-color image that has 2 duplicate head shots of you. You can take this image to any nearby drugstore, and using their photo kiosk machine, you can get a single photo print for about 50¢. You can cut the two headshot images out and include them with your Passport application, all the while meeting their very detailed photo specifications.
We're glossing over the hardest part of this project: getting a proper self-portrait. Get a friend to help, and stand in front of a white wall in a bright sunny room. Have him take a bunch of photos (both with and without flash) with a full-face view directly facing the camera. Your facial expression must be neutral (preferred) or a natural smile, and with both eyes open. Take your time, shoot a bunch (it's only digital!) and choose the best photo that you like (you're stuck with it for at least 10 years!)
Photo Layering Demo
The image layering example below only works in modern browsers, we're stacking several images off-axis to show the layers effect we need to show how you can use our PNG Masks to also create your own version of this without Photoshop.

I've got a stack of 3 images here, the top one is the white overprint that hides the rest of the image. The middle layer is where you would place your newly taken photo. Here, you can size it up so it matches the head-size spec that you can place in the background. The Background is all-black and has enlarged details from the Passport application itself. If you set the transparency of your image to 50%, then size it up right using the background as a reference, then reset the transparency to 100%. Once it's the right size and location, make a duplicate of your headshot and place it in the other opening. Hover over the bottom left corner of each layer and it'll animate up and out of the way to show the layer below it.
The Right App for the Job
While we offer a Photoshop format download, this file works with tons of other photo editing applications that you can use to make your own Passport Photo. I use Pixelmator, or Affinity Photo would also work for these cases. Your mileage may vary.