I'm am the modern dichotomy of furniture collectors: I love strong, durable, long lasting furniture, but shop at Ikea.
Emeco makes solid aluminum chairs that will last forever. The padding and outer coverings, however, suffer greatly from age. I've bought a bunch of distressed older chairs under the guise of refurbishing them. I finally got around to finishing one, and I took pictures to prove it!
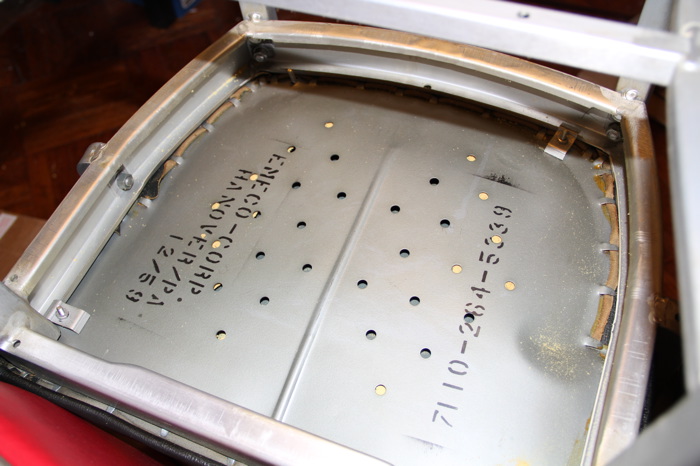
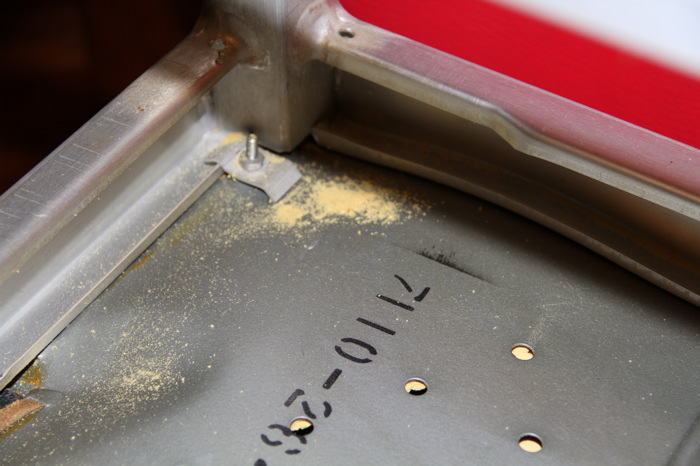
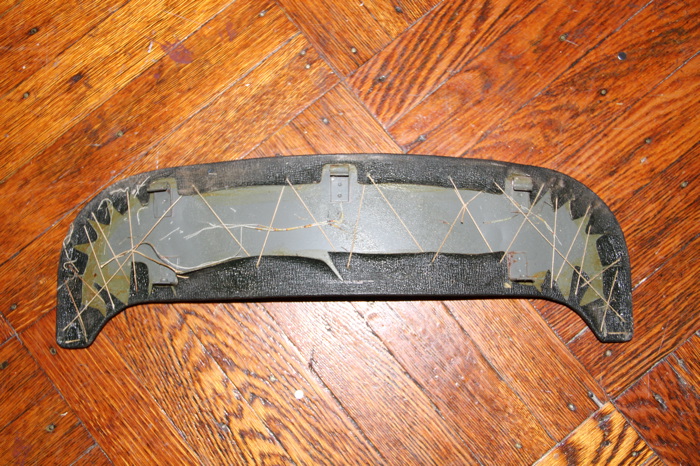
The Before Pictures
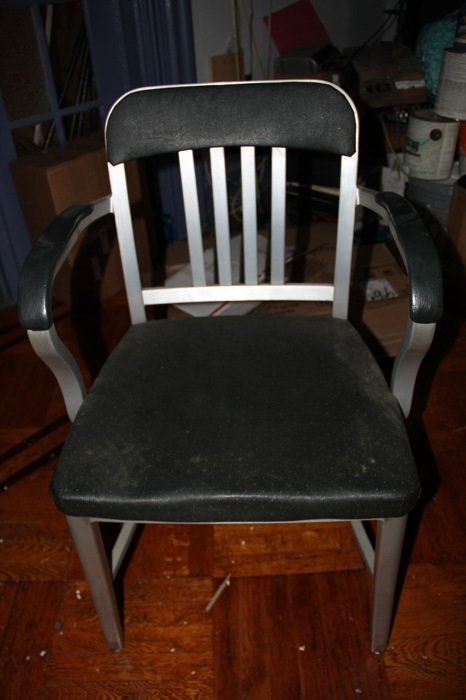
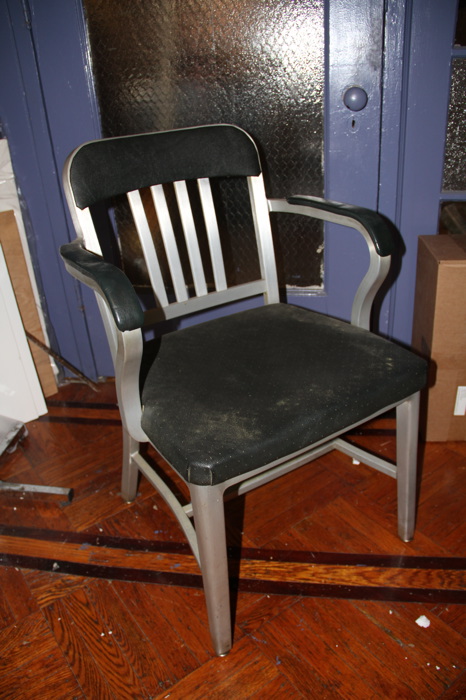
It was covered in it's stock black perforated coated canvas, which had cracked with age. The padding was crushed to it's thinnest size, and yellow dust escaped from the ventilation on the bottom of the seat every time you sat down - the padding has disintegrated to dust.
Tools Required:
- Pliers
- Flat-head Screwdriver
- Chisel
- Can of Spray Tack
- Rubber Cement
Materials Required:
I bought my new seat and back covering material (it's blue pleather) from Baldwin Fabric & Leather down on Fabric Row here in Philadelphia. A linear yard cost me $14. I bought the 1" padding from WalMart.
Disassembling the Chair
Flip the chair over and set it where you can work for a moment.
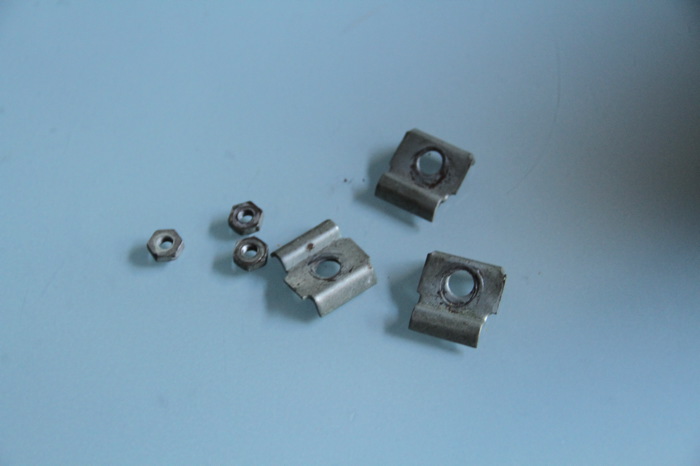
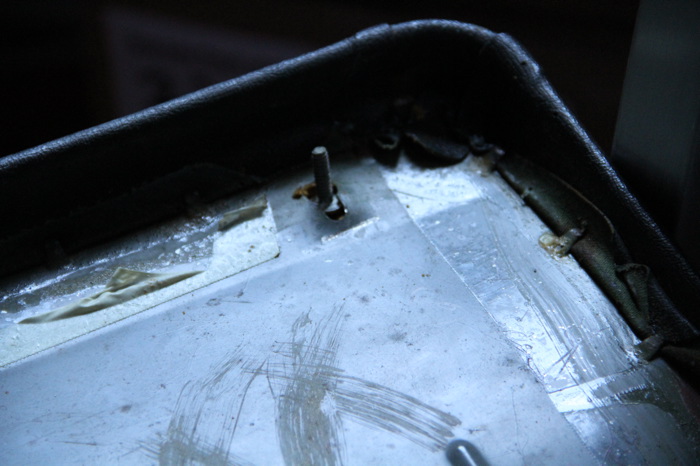
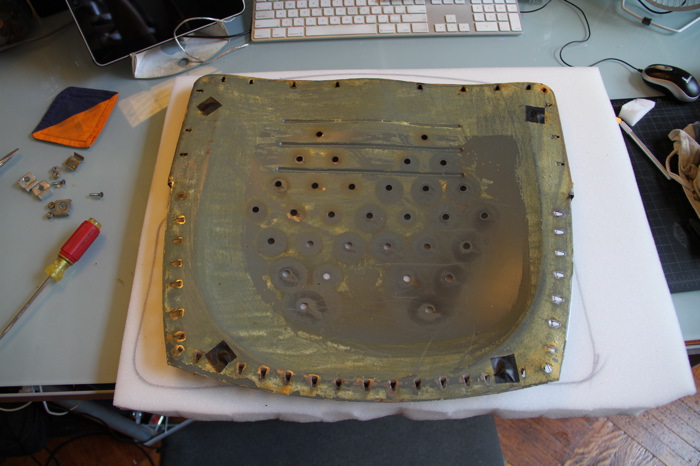
Remove the bolts from the underside of the seat, so you can remove (and retain) the hardware. You can see the yellow dust of deteriorated padding gumming up around the bolt.
Save the seat hardware. I'm missing an entire section - there should be four!
Removing the Old Covering
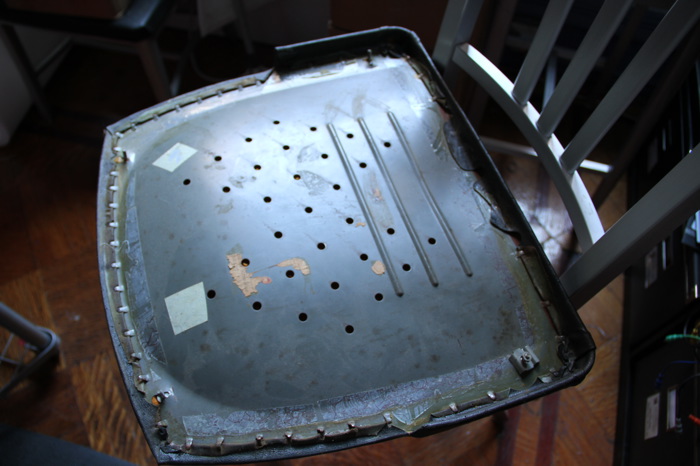
Once you get the hardware removed, you can lift the seat from the aluminum frame and set it aside for removing the old covering.
Pay special attention to these bolts, we need to save them while we remove the covering and padding.
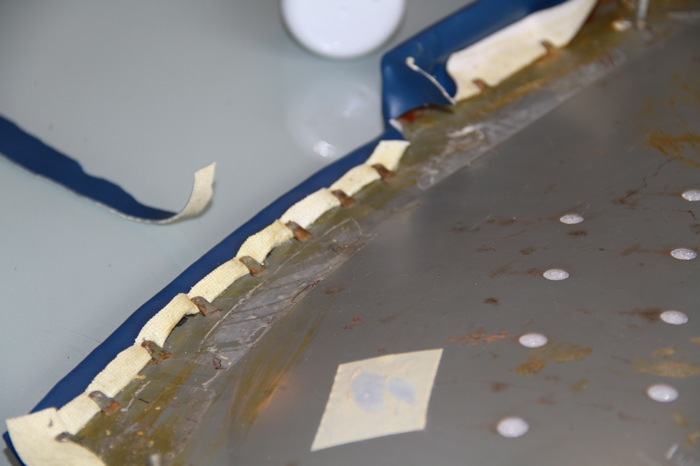
Using the chisel or screwdriver, pry up these tabs around the circumference of the seat.

Get them so the fabric is clear, and there is room to work.
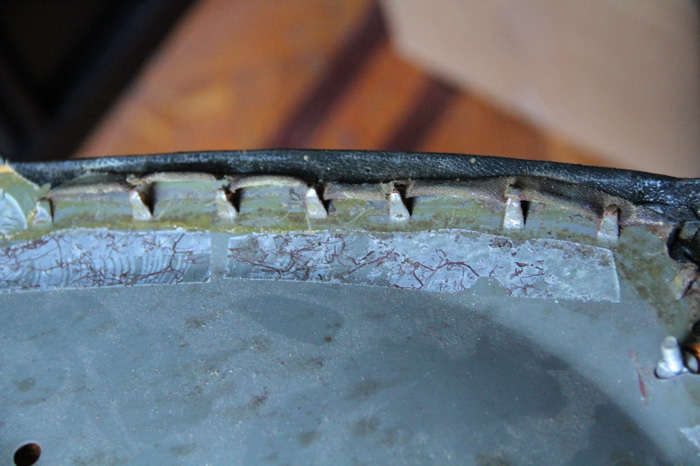
Pull up the old fabric and release it from the steel plate.
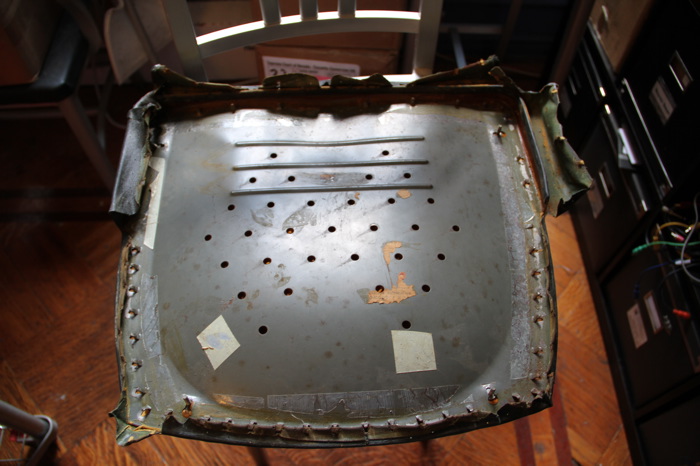
I used the chisel to hack and pull off the old padding, which is matted and solid and often flakes into yellow powder. I worked inside a garbage bag to keep the detritus afoot, and it did a good job of keeping my area clean.
Refinishing the Seat Back
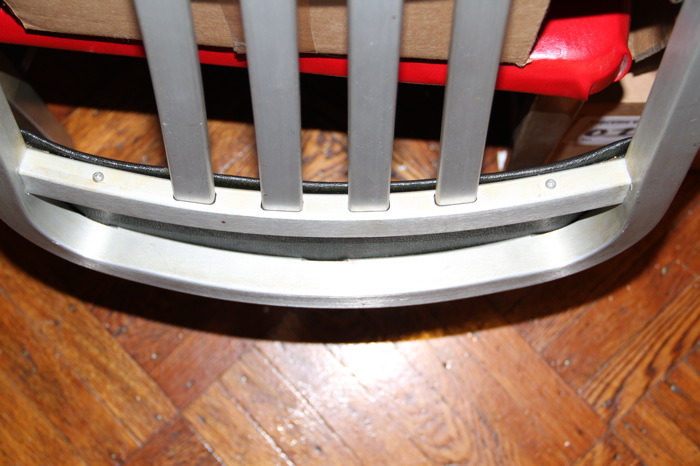
Remove the two screws that hold the seat padding to the aluminum frame. The back should lift off by tilting the bottom out, then pulling the back down and away from the seat back.
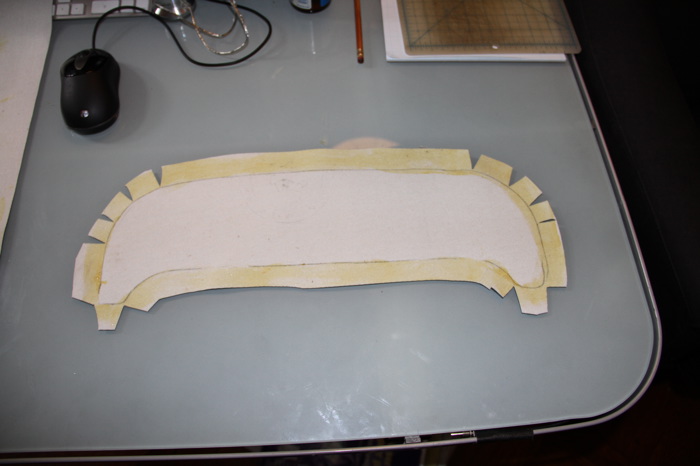
I dunno if the intricate stringing of the backing is stock, or another reupholstering from before. A few snips and tugs, the old backing is quickly removed.
I used the metal plate as a template on the new backing. I cut it to size and notched the turns, and then used rubber cement around the perimeter to help lock the backing.
Refinishing the Armchair Rests
You can remove the armchair covers as well from the two screws on the bottom. Use this opportunity to clean them up and maybe spray paint them the new upholstery color. As it was, both of these chairs had broken armrests, and were now fixed by glueing in place, so I cannot remove them.
Adding the Padding
The corner bolts are inserted and covered with tape before I apply the padding. I then sketched the outline onto a 1" thick piece of padding, and trimmed away the extraneous with a serrated knife. I used the spray tack on the top of the final, cleaned steel plate seat, then applied the rough padding.
Pay special attention here. Any odd cuts or defects in the padding will show up once the cover is stretched over it. While it doesn't need to be perfect, try and round the edges and smooth steep curves. A serrated knife works wonders, I was wishing for an automatic knife cutter to get super-smooth beveling.
Invert the padding chair top onto your backing, and stretch is tightly around the chair. I applied rubber cement to both the fabric inside, as well as to the bottom of the chair seat, and allowed them to dry. I then trimmed the covering to a it's minimum size, and folded and hammered it around the perimeter of the seat, using the old steel tabs to lock it into place. I folded the cover fabric to get a nice firm reinforcement.
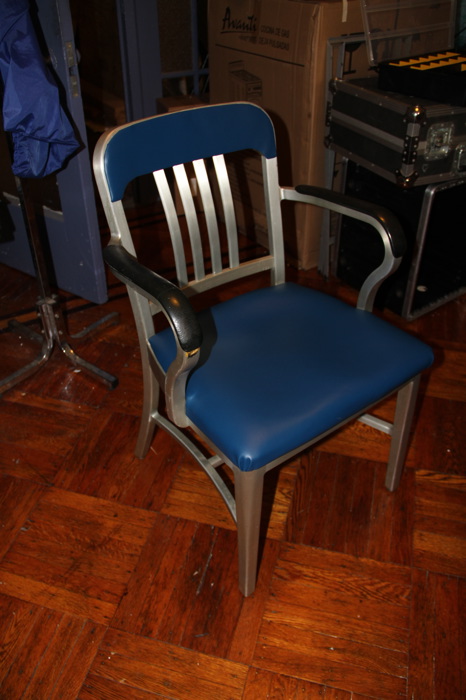
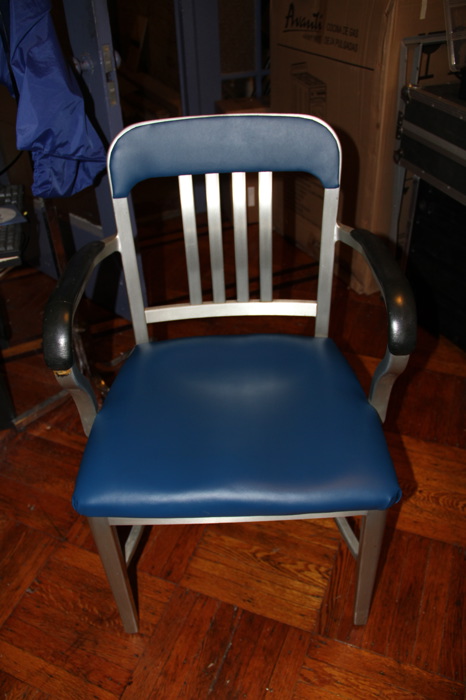
The Finished Product!