
This is for people looking to move their hosted WordPress blogs (blogname.wordpress.com) to a privately hosted WordPress install (as downloaded from WordPress.org).
If you have a privately hosted version, getting your images is as easy as making a local copy of your wp-content folder from your web host. Since there is no FTP access to the hosted WordPress version, you'll need to use this method to make a local copy of your images.
To be clear, I love WordPress, it's my hosted blog engine of choice, as I've turned quite a few friends and businesses onto the simple blogging engine. It's well supported, easy, quick and simple. I will continue to recommend it highly to most people looking to take some control over their internet presence.
However, it's a trap. While I will acknowledge that this missive is being delivered by the very beast I speak of, other WordPress authors will agree: Once you upload images, getting them back in any bulk form is impossible.
Sure, there's an 'Export Tool', but the XML download you can take as a backup only has the text data of your site, not the images. If you use your WordPress blog as a photo gallery (like my friend Hadas), she pays a mighty sum for the annual cost of the pricey WordPress Space upgrades to hold her ever growing online photo database.
I do this about once a year to ensure I have a full backup of my hosted WordPress site. While I am confident of WordPress' ability to store and backup my data, that's not always the case, and you are ultimately responsible for your own data and archiving.
(4) Required Downloads
-
Local XML Backup of your hosted WordPress site!
From your WordPress Dashboard, go to the Tools menu on the left side and select the 'Export' option. A screen cap is below:
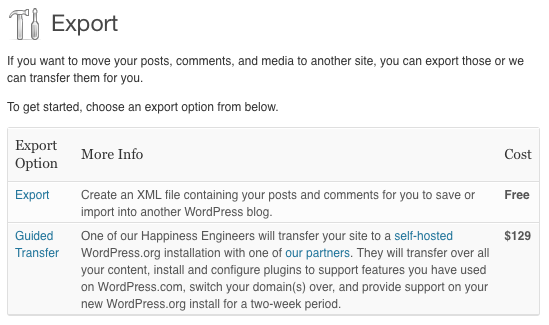
If this is the 'convenience' of cloud storage, there needs to be an easier escape! You'll note there is a $130 fee for having someone at WordPress do the move. You can save your money by following these directions!
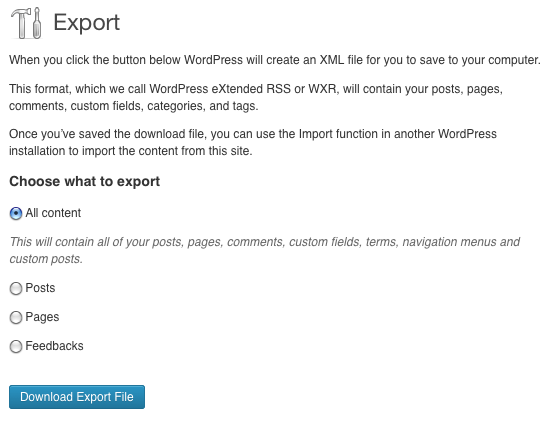
Now you'll have a file named
'blogname.wordpress.YEAR-MM-DD.xml'on your machine. This is your XML backup of your blog. Feel free to open it in a text editor, and you'll see how much information it stores in this complex file. Do not make any edits to the file, as you may mess-up the strict formatting and break the import later! -
Install a _AMP Server package
The key features being we need the Apache Web Server, the PHP Processing Language and a MySQL Database Server to run the local mirror of our hosted site. This step is pretty platform agnostic - for every operating system, there's a all-in-one installer for some form of _AMP package (LAMP, MAMP, WAMP).
LAMP is an acronym that stands for Linux, Apache, MySQL and PHP. There is a Macintosh version (MAMP) (which I used the Pro version as a demo), and a Windows version (WAMP).
-
Download the WordPress.org Version
Unzip it, and place the resulting directory in the path of the web host you just installed.
-
Download the WordPress Importer Plug-in
Download, unzip and place in the 'plugins' folder inside the
wp-contentfolder. This little bit of code is going to assist in making a local copy of your hosted images.
Directory Setup
Setup your new local web directory (mine was in Applications/MAMP/htdocs) where the mirror of your hosted site will be stored locally. I unzipped the WordPress install, and copied the contents to this directory.
First, I edited the WordPress config file (wp-config.php) adding the MySQL database name/password, and other site configurations. The technical data was given to me by the MAMP app upon installation.
Open the local WordPress install in a web browser. In my case, the local MAMP webserver was being served on port 8888. In a web browser on my machine, I typed in the address: I was greeted with the typical first-install screen of WordPress.
During this routine, you'll use the import function to open the local XML file you downloaded earlier. Look for the check box during the initial installation that asks if you want to download a local copy of your images.
I had to adjust the permissions on the web server's directory to allow it to create new directories for the incoming downloads. Since this is a local instance, and you're machine is probably behind a firewall, you can set very loose permissions (777) without too much fear of being hacked.
Keep your browser open while it works, and depending on how prolific of an uploader you are, this might take minutes to hours.
I had 1,600 images, and I knew it was gonna take a while, since WordPress decided to save 3 sizes of each image. Expect your hard drive to quickly fill up with thumbnails. Mine took around 40 minutes to download over 1 GB of data.
When it was done I was given this message:
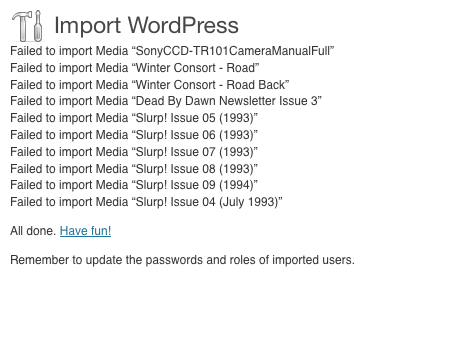
Not surprisingly, the files were very large PDF files which failed due to the time it took to load them. I downloaded the few errant files directly, and replaced them in the (new) local mirrored directories.
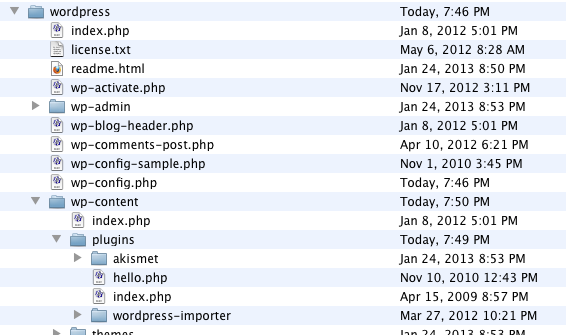
Here's the screen shot of the final directory structure, with images back to this blogs beginning in 2009.
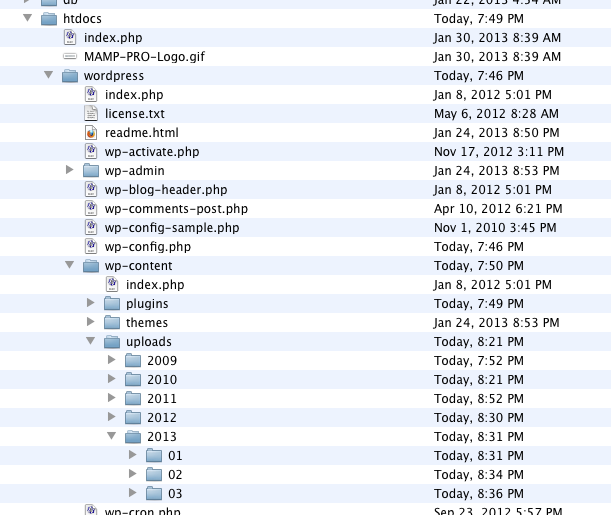
Once you're finished, you can delete the _AMP install with impunity, and keep your local mirror of your images safely on your own machine. With this directory structure and the initial XML file, you can quickly make an exact mirror of your older hosted WordPress blog.